在openCV官網上說是戴面具,其實就是重新計算一下矩陣中的每一個value,那麼怎麼計算呢,根據該像素點的周圍信息,用一個加權的公式來進行計算。那麼現在就要看,周圍的信息是如何被加權的。讓我們想一下這樣的方式,請看下面的公式:

上面的公式就是依據當前像素點的值和四個鄰居的值,更新一下。相當於原來矩陣每一塊3*3的小矩陣和M進行想乘一樣。
在程序中,我們對該公式進行編程的話,會是下面的代碼。
#include <opencv2/core/core.hpp>
#include<opencv2/highgui/highgui.hpp>
#include <iostream>
#include <sstream>

using namespace std;
using namespace cv;

void Sharpen(const Mat& myImage, Mat& Result)
{
    CV_Assert(myImage.depth() == CV_8U);  // accept only uchar images,這裡確保我們接受的圖片的格式

    Result.create(myImage.size(), myImage.type()); //根據myImage的size和type來創建矩陣。
    const int nChannels = myImage.channels();//獲取圖片的channel

    for (int j = 1; j < myImage.rows - 1; ++j)
    {
        const uchar* previous = myImage.ptr<uchar>(j - 1);//獲取i,j位置上i行,i-1行和i+1行,
        const uchar* current = myImage.ptr<uchar>(j);
        const uchar* next = myImage.ptr<uchar>(j + 1);

        uchar*output = Result.ptr<uchar>(j);

        for (int i = nChannels; i < nChannels * (myImage.cols - 1); ++i)
        {
            *output++ = saturate_cast<uchar>(5 * current[i]
                - current[i - nChannels] - current[i + nChannels] - previous[i] - next[i]);//這裡根據公式計算,之所以是i-nChannels是因為矩陣的存儲格式,
            //  具體看這裡http://blog.csdn.net/zhonghuan1992/article/details/38408939
        }
    }

    //對於圖像的邊界部分,上面的公式並不作用於這裡,在這種情況下,可以把邊界值都設為0
    Result.row(0).setTo(Scalar(0));
    Result.row(Result.rows - 1).setTo(Scalar(0));
    Result.col(0).setTo(Scalar(0));
    Result.col(Result.cols - 1).setTo(Scalar(0));
}
int main()
{
    String str = "zh.png";
    Mat I, J;
    //I = imread(argv[1], CV_LOAD_IMAGE_GRAYSCALE);
    I = imread(str, CV_LOAD_IMAGE_COLOR);

    Sharpen(I, J);
    imshow("", J);
    waitKey();

    return 0;
}
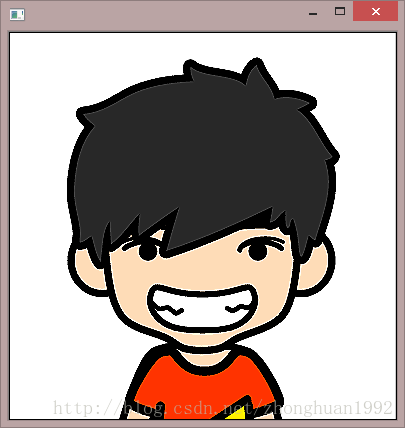
轉換前的圖像:

卷積後的圖像:

返回欄目頁:http://www.bianceng.cn/Programming/cplus/
可以自行比較一下這兩幅圖片的不同之處。
The filter2D function:
因為上面的過程在圖像處理中太常見了,openCV提供了函數對這種操作的支持。在卷積前,你要選擇一個矩陣,看上面的公式,就是那個M,要確定那個M。
Mat kern = (Mat_<char>(3, 3) << 0, -1, 0,
        -1, 5, -1,
        0, -1, 0);
然後使用filter2D函數。
filter2D(I, K, I.depth(), kern);
經過比較,在我的電腦上,第一種方式用時21毫秒,第二種方式用時僅7毫秒。
程序完整代碼可從這裡下載:http://docs.opencv.org/_downloads/mat_mask_operations.cpp