今天ModestMT.Zou發布了DotnetSpider爬蟲第二章節,內容簡單明了,基本看懂了,於是想自己試試看,直接就拿博客園開刀了。
這裡有最基本的使用方式,本文章不介紹
這裡我已經從https://github.com/zlzforever/DotnetSpider上下載代碼並編譯通過
這裡用的是VS2015,因為此項目有些C#6.0語法糖
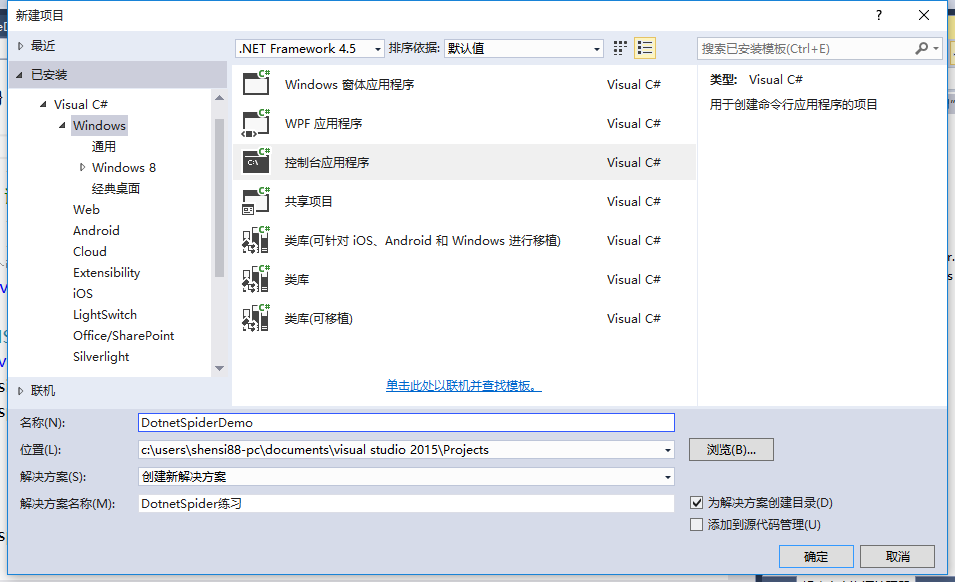
public class Cnblog
    {
        public string Title { get; set; }

        public string Url { get; set; }

        public string Author { get; set; }

        public string Conter { get; set; }
    }
先引用兩個Dll類庫
Java2Dotnet.Spider.Core.dll
Newtonsoft.Json.dll
如果你編譯DotnetSpider成功的話,可以在output目錄中找到
/// <summary>
    /// 頁面列表處理器
    /// </summary>
    public class PageListProcessor : IPageProcessor
    {
        public Site Site{get; set; }

        public void Process(Page page)
        {
            var totalCnblogElements = page.Selectable.SelectList(Selectors.XPath("//div[@class='post_item']")).Nodes();
            List<Cnblog> results = new List<Cnblog>();
            foreach (var cnblogElement in totalCnblogElements)
            {
                var cnblog = new Cnblog();
                cnblog.Title = cnblogElement.Select(Selectors.XPath(".//div[@class='post_item_body']/h3/a")).GetValue();
                cnblog.Url = cnblogElement.Select(Selectors.XPath(".//div[@class='post_item_body']/h3")).Links().GetValue();
                cnblog.Author = cnblogElement.Select(Selectors.XPath(".//div[@class='post_item_foot']/a[1]")).GetValue();
                results.Add(cnblog);
            }
            page.AddResultItem("Result", results);
        }
    }
關於XPath,可以到這裡學習http://www.w3school.com.cn/xpath/,我也是下午剛看了一遍,因為有XML/HTML基礎,基本沒壓力
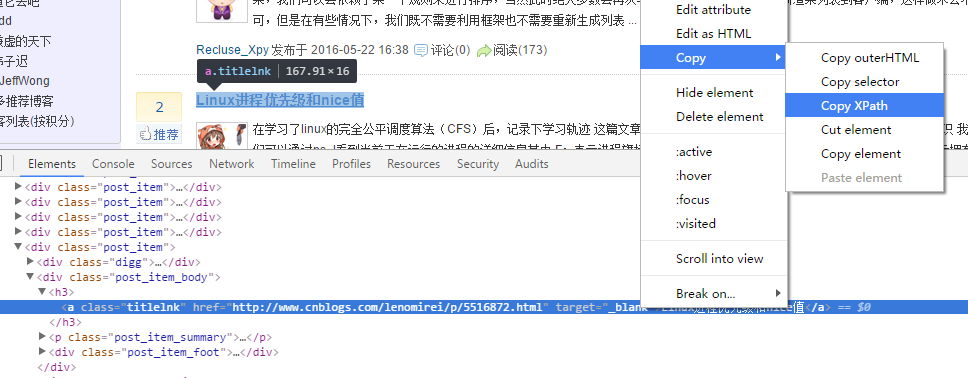
關於XPath表達式如何寫,我覺得用谷歌審核元素就足夠了,可以復制XPath。也有一款谷歌XPath插件,因我翻不了牆,就沒安裝。
如下圖://*[@id="post_list"]/div[20]/div[2]/h3/a,然後再按需改改
需要實現 IPipeline這個接口,然後你想保存到文件或數據庫就自己選擇
public class ListPipeline : IPipeline
    {
        private string _path;

        public ListPipeline(string path)
        {
            if (string.IsNullOrEmpty(path))
            {
                throw new Exception("文件名不能為空!");
            }

            _path = path;

            if (!File.Exists(_path))
            {
                File.Create(_path);
            }
        }
        public void Dispose()
        {
        }

        public void Process(ResultItems resultItems, ISpider spider)
        {
            lock (this)
            {
                foreach (Cnblog entry in resultItems.Results["Result"])
                {
                    File.AppendAllText(_path, JsonConvert.SerializeObject(entry));
                }
            }
        }
接下來在Program的Main方法中寫運行代碼
class Program
    {
        static void Main(string[] args)
        {
            var site = new Site() { EncodingName = "UTF-8" };
            for (int i = 1; i <= 30; i++)//30頁
            {
                site.AddStartUrl(
                    $"http://www.cnblogs.com/p{i}");//已更正去掉#號,本來是"http://www.cnblogs.com/#p{i}",這樣發現請求的是http://www.cnblogs.com
            }

            Spider spider = Spider.Create(site, new PageListProcessor(), new QueueDuplicateRemovedScheduler()).AddPipeline(new ListPipeline("test.json")).SetThreadNum(2);//兩個線程
            spider.Run();
            Console.Read();
        }
    }
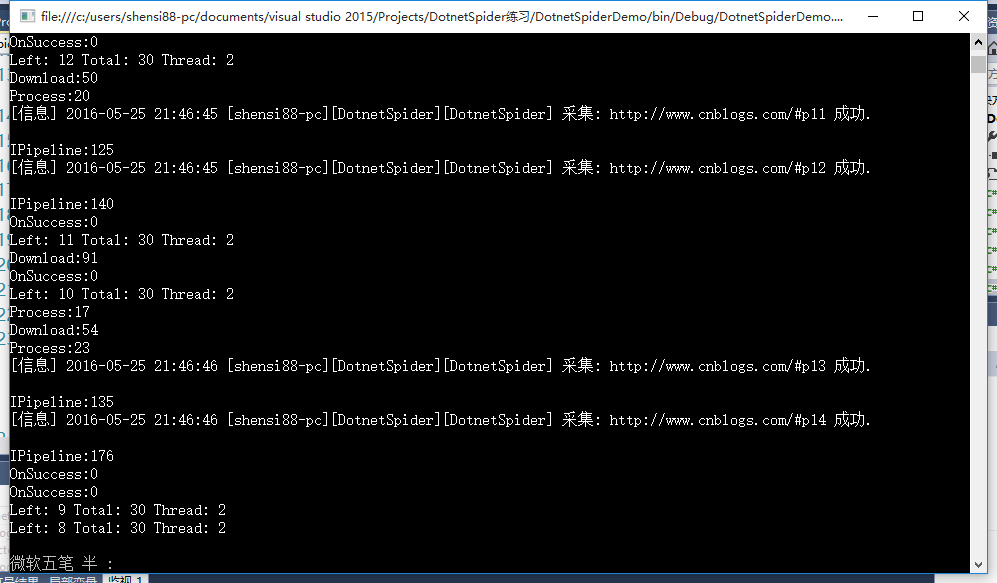
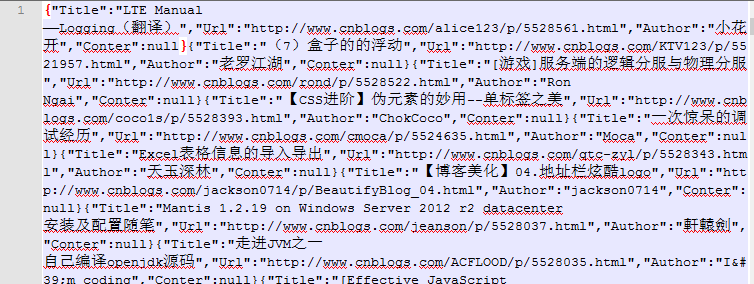
這樣每一頁信息就被保存起來了,但到這裡還沒完,一般情況不僅僅是采集列表頁,也會采集詳細頁,於是我又添加了兩個類,暫時我是這樣實現的,但感覺有點慢
添加頁面詳細數據處理器
/// <summary>
    /// 頁面詳細處理器
    /// </summary>
    public class PageDetailProcessor : IPageProcessor
    {
        private Cnblog cnblog;
        public PageDetailProcessor(Cnblog _cnblog)
        {
            cnblog = _cnblog;
        }
        public Site Site { get; set; }

        public void Process(Page page)
        {
            cnblog.Conter=page.Selectable.Select(Selectors.XPath("//*[@id='cnblogs_post_body']")).GetValue();
            page.AddResultItem("detail",cnblog);
        }
    }
再添加頁面詳細數據保存
public class DetailPipeline : IPipeline
    {
        private string path;
        public DetailPipeline(string _path)
        {

            if (string.IsNullOrEmpty(_path))
            {
                throw new Exception("路徑不能為空!");
            }
            path = _path;
            if (!Directory.Exists(_path))
            {
                Directory.CreateDirectory(_path);
            }
        }
        public void Dispose()
        {

        }

        public void Process(ResultItems resultItems, ISpider spider)
        {
            Cnblog cnblog=resultItems.Results["detail"];
            FileStream fs=File.Create(path + "\\" + cnblog.Title + ".txt");
            byte[] bytes=UTF8Encoding.UTF8.GetBytes("Url:"+cnblog.Url+Environment.NewLine+cnblog.Conter);
            fs.Write(bytes,0,bytes.Length);
            fs.Flush();
            fs.Close();
        }
    }
修改ListPipeline這個類RequestDetail方法,我的想法是列表數據保存一次就請求一次詳細頁,然後再保存詳細頁
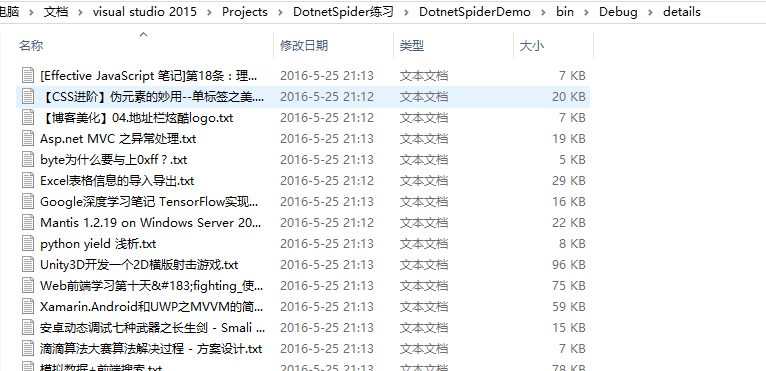
所有詳細頁都保存在details這個目錄下
public class ListPipeline : IPipeline
    {
        private string _path;

        public ListPipeline(string path)
        {
            if (string.IsNullOrEmpty(path))
            {
                throw new Exception("文件名不能為空!");
            }

            _path = path;

            if (!File.Exists(_path))
            {
                File.Create(_path);
            }
        }
        public void Dispose()
        {
        }

        public void Process(ResultItems resultItems, ISpider spider)
        {
            lock (this)
            {
                foreach (Cnblog entry in resultItems.Results["Result"])
                {
                    File.AppendAllText(_path, JsonConvert.SerializeObject(entry));
                    RequestDetail(entry);
                }
            }
        }

        /// <summary>
        /// 請求詳細頁
        /// </summary>
        /// <param name="entry"></param>
        private static void RequestDetail(Cnblog entry)
        {
            ISpider spider;
            var site = new Site() {EncodingName = "UTF-8"};
            site.AddStartUrl(entry.Url);
            spider =
                Spider.Create(site, new PageDetailProcessor(entry), new QueueDuplicateRemovedScheduler())
                    .AddPipeline(new DetailPipeline("details"))
                    .SetThreadNum(1);
            spider.Run();
        }
    }
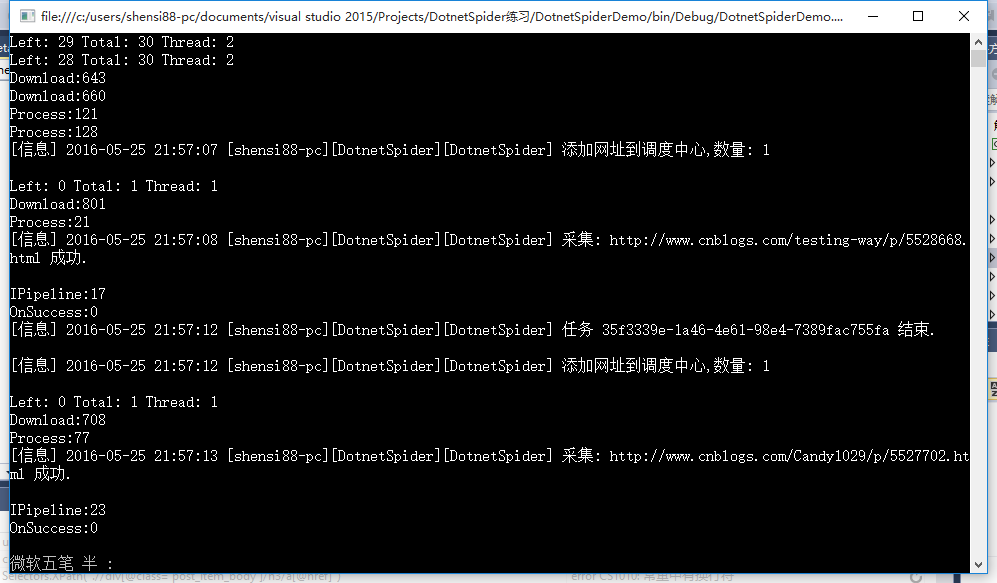
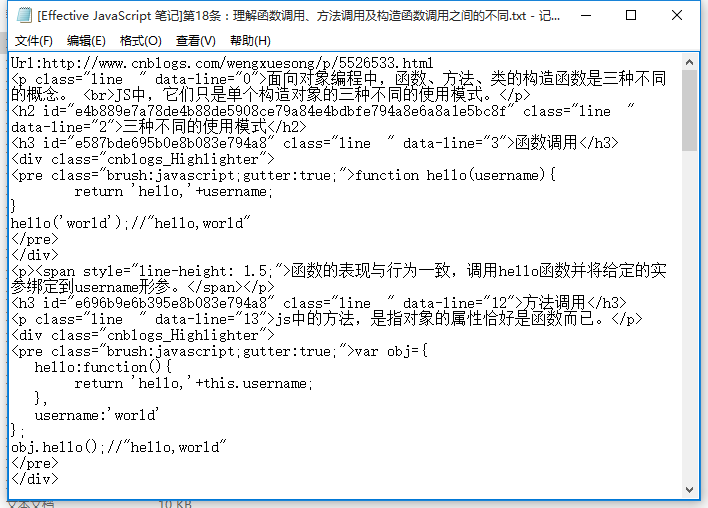
其它代碼保持不變,運行程序,現在已經能保存詳細頁內容了
最後,程序運行下來沒什麼大問題,但就是在采集詳細頁時比較慢,我的想法是把所有詳細頁一起加到調度中心,然後開多個線程去運行,這個有待學習。
今天把上面的問題解決了,修改ListPipeline類,這樣就可一次把所有詳細頁都加到調度中心,然後開多個線程去請求。
public void Process(ResultItems resultItems, ISpider spider)
        {
            lock (this)
            {
                var site = new Site() { EncodingName = "UTF-8" };
                foreach (Cnblog entry in resultItems.Results["Result"])
                {
                    File.AppendAllText(_path, JsonConvert.SerializeObject(entry));
                    site.AddStartUrl(entry.Url);
                }
                RequestDetail(site);
            }
        }

        /// <summary>
        /// 請求詳細頁
        /// </summary>
        /// <param name="site"></param>
        private static void RequestDetail(Site site)
        {
            ISpider spider =
                Spider.Create(site, new PageDetailProcessor(), new QueueDuplicateRemovedScheduler())
                    .AddPipeline(new DetailPipeline("details"))
                    .SetThreadNum(3);
            spider.Run();
        }
PageDetailProcessor類也更改了,加入標題、url獲取
public void Process(Page page)
        {
            Cnblog cnblog=new Cnblog();
            cnblog.Title = page.Selectable.Select(Selectors.XPath("//a[@id='cb_post_title_url']")).GetValue();
            cnblog.Conter=page.Selectable.Select(Selectors.XPath("//*[@id='cnblogs_post_body']")).GetValue();
            cnblog.Url = page.Url;
            page.AddResultItem("detail",cnblog);
        }
Demo下載