環境:MAC+Xamarin Studio
先講講安裝吧,最普遍的方法就是去Xamarin官網,注冊個賬號,填寫信息啥的開始下載,安裝。但,在天朝的網絡環境下,在下載android模塊的東東時,總會下載失敗,但你又沒辦法跳過。我曾經掛了一個晚上去下載,抱著晚上網絡質量應該好點的自我安慰僥幸心理,結果第二天早上來的時候發現,還是下載失敗。為了避免各位新人再入坑,和大家說下另外一個下載方法,用Google搜索 xamarin studio download xml,進入網站 https://static.xamarin.com/installer_assets/v3/Mac/Universal/InstallationManifest.xml 中,找鏈接,分批下載,安裝。下面截個圖說明下:
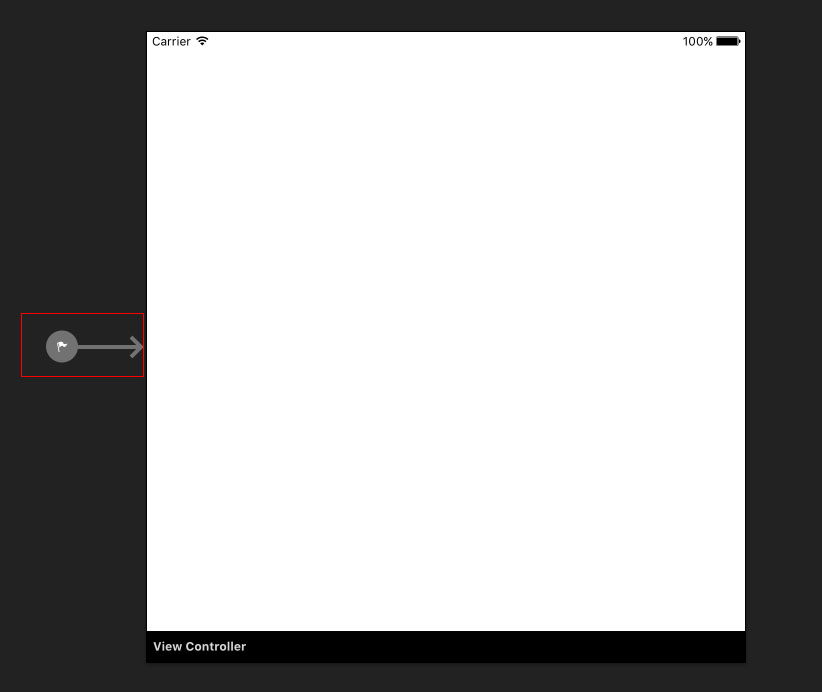
新建的項目,默認是storyboard方式的布局。我們所看到的一片白,就是Main.storyboard顯示出來的。為什麼會顯示Main.storyboard上的布局呢,這和Info.plist中的設置有關,具體位置在下圖中的紅線標出來的位置。

好,接下來,我們打開Main.storyboard文件,如下左圖所示,其中紅色矩形框出來的箭頭,可以理解為起點,該箭頭指向某個ViewController,APP就會以該ViewController作為LaunchScreen後首先顯示的頁面,設置的方式有兩種,一種簡單粗暴,直接拖拽;一種設置屬性,選擇ViewController,勾選下面右圖紅框內的屬性即可。


接下來,我們實現一個簡單的功能,點擊Button,改變View的background color。我們拖拽一個Button至View中,雙擊該Button,回車確定該事件的書寫位置,即可創建該事件的方法,是不是和winform很像。
    public partial class ViewController : UIViewController
    {
        bool isWhite = true;

        protected ViewController(IntPtr handle) : base(handle)
        {

        }

        partial void UIButton10_TouchUpInside(UIButton sender)
        {
            if (isWhite)
            {
                this.View.BackgroundColor = UIColor.Red;
                isWhite = false;
            }
            else
            {
                this.View.BackgroundColor = UIColor.White;
                isWhite = true;
            }
        }
    }
當然,也可以手撕一個事件,在storyboard上,Button屬性中,給Button的Name賦值button。
public partial class ViewController : UIViewController
    {
        bool isWhite = true;

        protected ViewController(IntPtr handle) : base(handle)
        {

        }

        public override void ViewDidLoad()
        {
            base.ViewDidLoad();

            button.TouchDown+=(o,s)=>
            {
                if (isWhite)
                {
                    this.View.BackgroundColor = UIColor.Red;
                    isWhite = false;
                }
                else
                {
                    this.View.BackgroundColor = UIColor.White;
                    isWhite = true;
                }
            };
        }
    }
有心的同學可能會問了,一個storyboard是如何與.CS文件關聯的呢?答案也在storyboard中,ViewController屬性中的class選項便是與.CS文件關聯的關鍵。
還有同學會問了,我這個button只是設置了storyboard中的Button的name呀,怎麼可以直接在類文件中直接用了,答案在類文件下的.designer.cs中

這樣,我們就算完成了第一個APP。