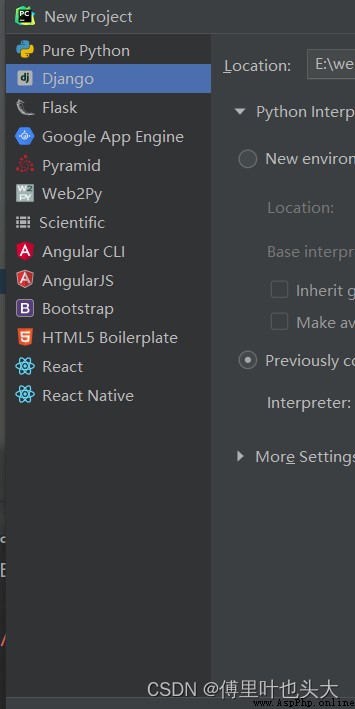
pycharm命令行輸入:
python manage.py startapp app01
創建好後會多一個app01文件夾
在app01文件夾下,apps.py中會有App01Config類。找到settings.py文件,找到INSTALLED_APPS列表,末尾添加'app01.apps.App01Config',
找到TEMPLATES列表,刪除’DIRS’中的內容。
添加:
from django.shortcuts import HttpResponse
def index(request):
return HttpResponse("歡迎使用!")
from app01 import views
urlpatterns = [
path('index/', views.index),
]
網頁中進入http://127.0.0.1:8000/index,可以看到"歡迎使用!"字樣。
from django.urls import path
from app01 import views
urlpatterns = [
path('index/', views.index),
path('login/', views.LoginView.as_view()),
]
from django.shortcuts import render,HttpResponse
from rest_framework.views import APIView
from rest_framework.response import Response
# Create your views here.
def index(request):
return HttpResponse("歡迎使用!")
class LoginView(APIView):
def post(self, request, *args ,**kwargs):
print(request.data)
return Response({
"status":True})
在INSTALLED_APPS列表中添加’rest_framework’
INSTALLED_APPS = [
'django.contrib.admin',
'django.contrib.auth',
'django.contrib.contenttypes',
'django.contrib.sessions',
'django.contrib.messages',
'django.contrib.staticfiles',
'app01.apps.App01Config',
'rest_framework'
]
demo.wxml
<!--pages/demo/demo.wxml-->
<view>{
{message[0]}}</view>
<view bindtap="getLocalPath">{
{localPath}}</view>
<view>手機號:</view>
<input value="{
{phone}}" bindinput="bindPhone" placeholder="請輸入手機號"></input>
<view>驗證碼:
<view bindtap="messageCode">點擊獲取驗證碼 </view>
</view>
<input value="{
{code}}" bindinput="bindCode" placeholder="請輸入驗證碼"></input>
<button bindtap="login">登錄</button>
demo.js
// pages/demo/demo.js
Page({

/** * 頁面的初始數據 */
data: {

message:["a","b","c"],
localPath:"請選擇位置",
phone:"",
code:""
},
bindPhone:function(e){

this.setData({
 phone:e.detail.value});
},
bindCode: function (e) {

this.setData({
 code: e.detail.value });
},
/** * 發送短信驗證碼 */
messageCode:function(){

// 手機長度限制
if (this.data.phone.length !=11){

// 彈窗
wx.showToast({

title: '手機號長度錯誤',
icon:"none", // loading/success/none
})
return;
}
// 正則匹配手機格式
var reg = /^(1[3|4|5|6|7|8|9])\d{9}$/;
if(!reg.test(this.data.phone)){

wx.showToast({

title: '手機號格式錯誤',
icon: "none", // loading/success/none
})
return;
}
wx.request({

url: 'http://127.0.0.1:8000/api/message/',
data: {
 phone: this.data.phone },
method: 'GET',
success: function (res) {

console.log(res);
}
})
},
/** * 用戶登錄 */
login:function(){

console.log(this.data.phone, this.data.code);
// 將手機號和驗證碼發送到後端,後端進行登錄。
wx.request({

url: 'http://127.0.0.1:8000/login/',
data: {
 phone: this.data.phone, code: this.data.code},
method: 'POST',
success: function(res) {

console.log(res);
}
})
},
getLocalPath:function(){

var that = this;
wx.chooseLocation({

success: function(res) {

that.setData({
localPath:res.address});
},
})
},
onLoad(options) {

},
/** * 生命周期函數--監聽頁面初次渲染完成 */
onReady() {

},
/** * 生命周期函數--監聽頁面顯示 */
onShow() {

},
/** * 生命周期函數--監聽頁面隱藏 */
onHide() {

},
/** * 生命周期函數--監聽頁面卸載 */
onUnload() {

},
/** * 頁面相關事件處理函數--監聽用戶下拉動作 */
onPullDownRefresh() {

},
/** * 頁面上拉觸底事件的處理函數 */
onReachBottom() {

},
/** * 用戶點擊右上角分享 */
onShareAppMessage() {

}
})
三、效果
在微信小程序中登錄,在pycharm中可以接收到信息
{
'phone': '13544443333', 'code': '1111'}