當完成某個功能模塊開發後,可以將其對外發布,其他開發者也可以以”第三方擴展庫“的方式使用自己上傳的模塊.
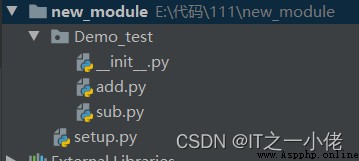
1.為模塊文件創建如下結構的文件夾、包和模塊文件(Demo_test 是對外發布的模塊名):
add.py 的內容結構如下:
def func():
print("'I'm add method!")
sub.py 的內容結構如下:
def func():
print("'I'm sub method!")
2.在 new_module 文件夾中創建一個名為 setup.py 文件,在文件中輸入以下內容:
from distutils.core import setup
setup(
name='Demo_test', # 對外模塊的名字
version='1.0.0', # 版本號
description='測試本地發布模塊', # 描述
author='dgw', # 作者
author_email='[email protected]',
py_modules=['Demo_test.add', 'Demo_test.sub'], # 要發布的模塊
)
3.構建一個發布文件.打開終端,cd 到 new_module目錄下,鍵入以下命令:
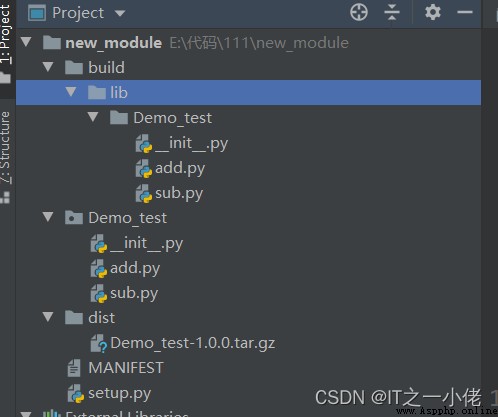
python setup.py sdist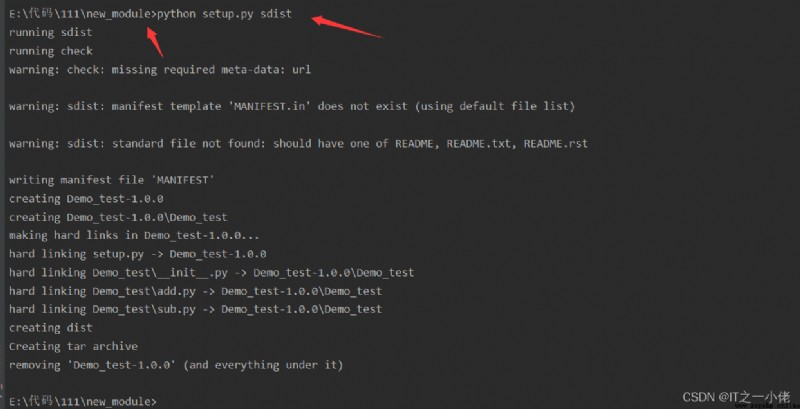
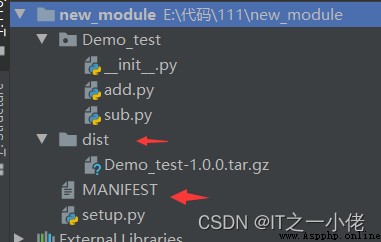
執行完畢後,目錄的結構如下:
4.本地安裝模塊
將要發布的模塊安裝到自己本地計算機上.仍在 cmd 命令行模式下操作,進 setup.py 所在目 錄,鍵入命令:
python setup.py install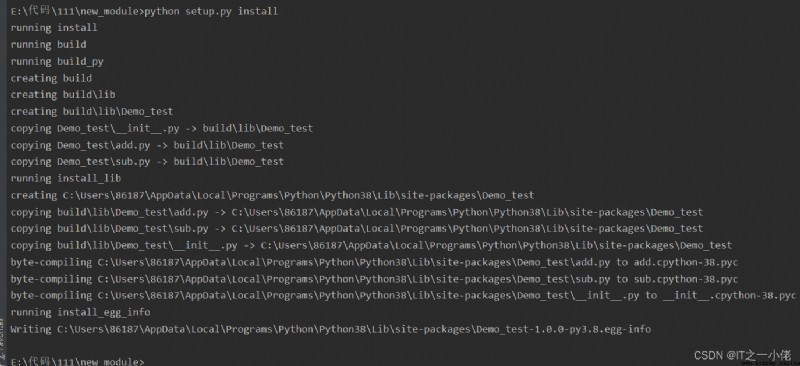
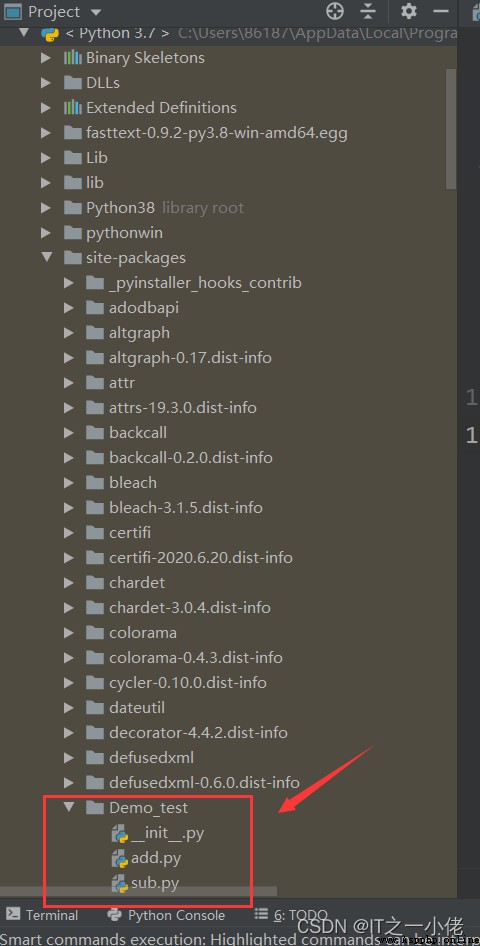
5.安裝成功後,進入 python 工程目錄:venv/Lib/site-packages 目錄(第三方模塊都安裝的這裡,python 解釋器執行時也會搜索這個路徑):
6.使用 import 導入該模塊進行使用:
示例代碼:
from Demo_test import add, sub
add.func()
sub.func()
運行結果:

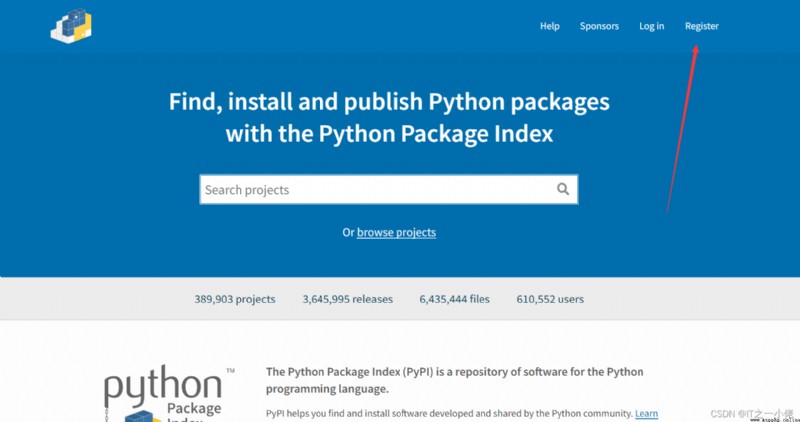
1、首先在PyPIRegister and log in on the official website.
2、創建用戶信息文件 .pypirc 文件
輸入命令:python setup.py register 並執行後 ,然後輸入用戶名和密碼即可
在用戶目錄:user目錄下創建一個文件名為 .pypirc, 輸入以下內容: 【注意:Do not put quotation marks around username and password,否則會報錯】
[distutils]
index-servers=pypi
[pypi] repository = https://upload.pypi.org/legacy/
username = 賬戶名
password = 密碼
Tips:

3、上傳並遠程發布:
進入 setup.py 文件所在目錄,使用命令:python setup.py sdist upload,即可以將模塊代碼上傳並發布.
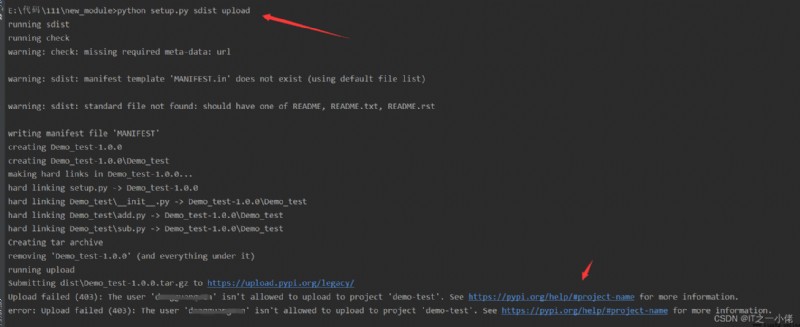
The above error was reported when uploading,Check the official website for the explanation below:
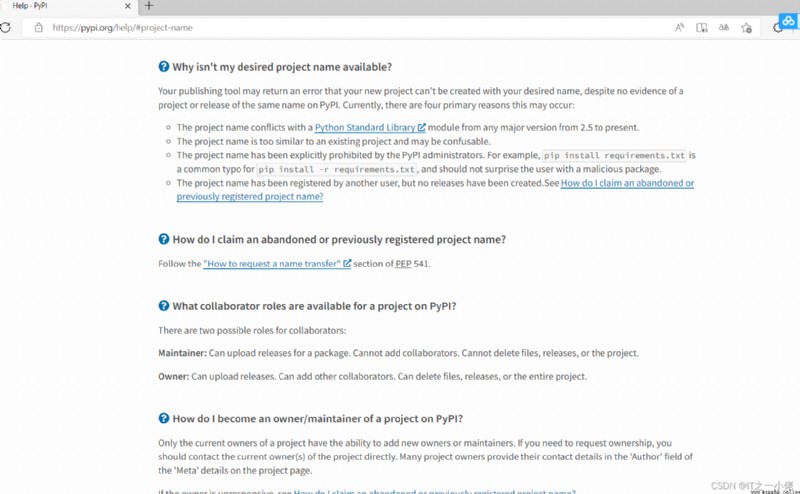
Could be a module naming issue,There is a conflict with someone else's module name,I put a number after the module name here521,Change the original module name to Demo_test521,Let's do all the above operations again.

This upload was successful:
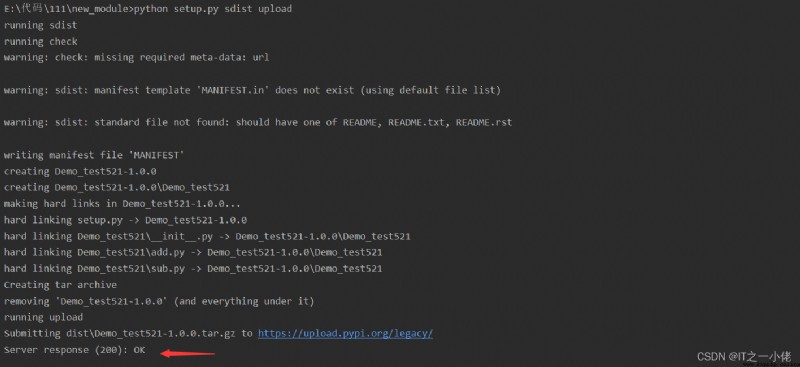
After the upload is successful, you can see the module you uploaded

Installation is also available pip 工具進行安裝:pip install Demo_test521,或者通過 PyCharm Install in other installation methods.
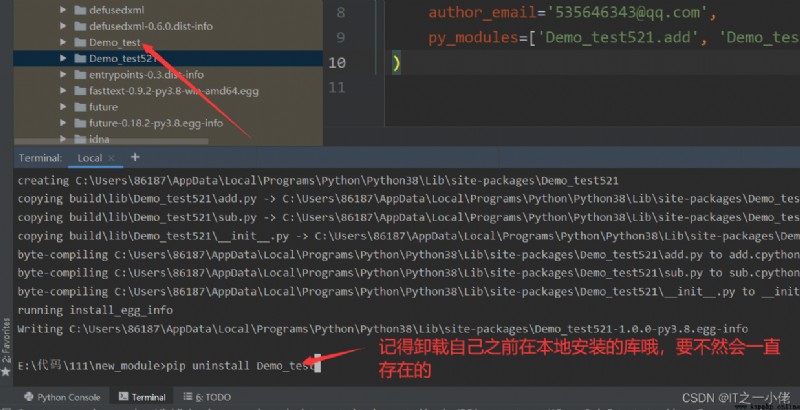
注意:Remember to uninstall the module name you installed before~
