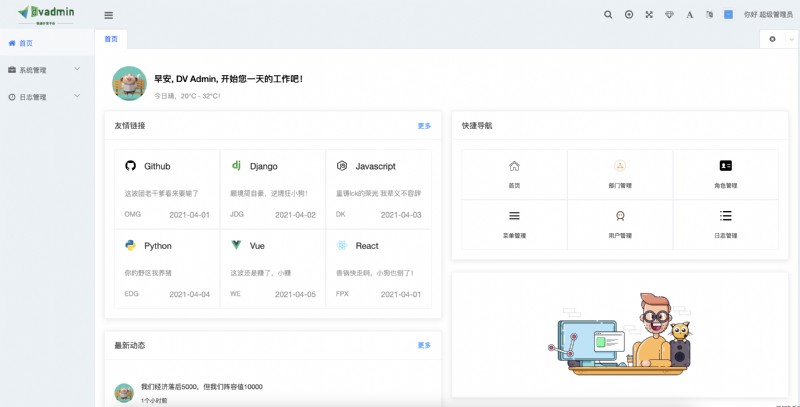
A set of all open source rapid development platform , It is reserved for free use by individuals and enterprises .
- 🧑🧑 The front end uses D2Admin 、Vue.
- Back end adoption Python Language Django frame .
- Authority authentication uses Jwt, Support multi terminal authentication system .
- Support loading dynamic permission menu , Easy access control in many ways .
The built-in function
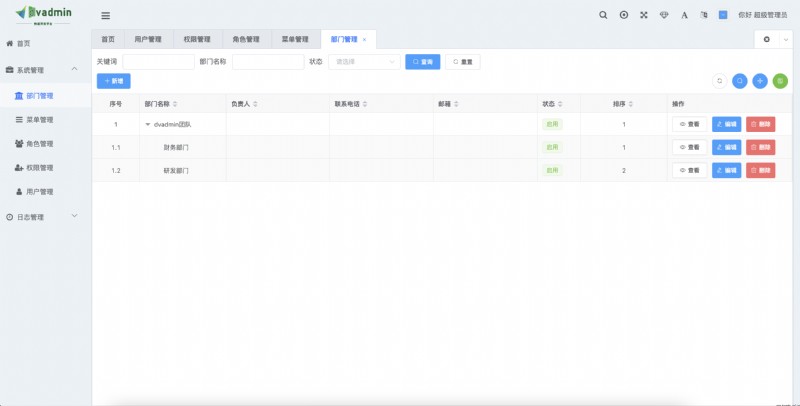
- 🧑️ Department of management : Configuration system organization ( company 、 department 、 role ), Tree structure display supports data permission .
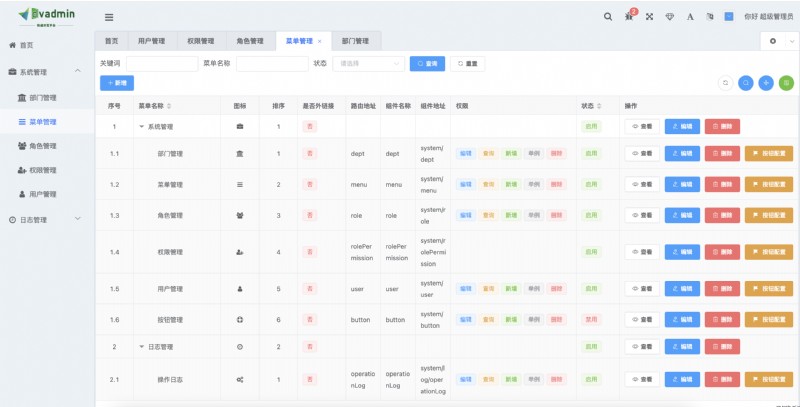
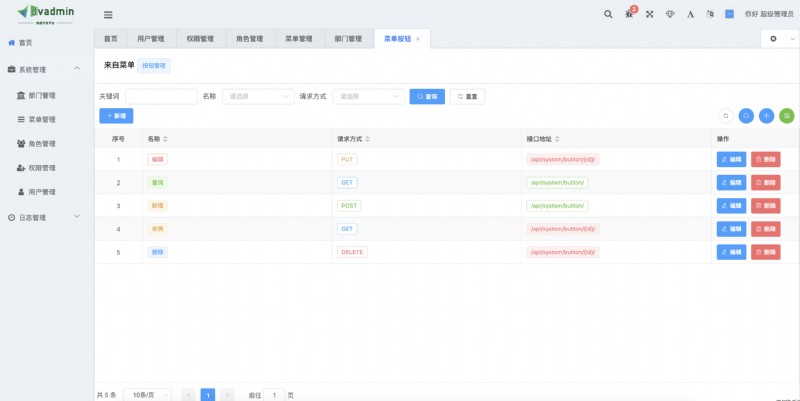
- Menu management : Configure system menu , Operating authority , Button authority identification 、 Back end interface permissions, etc .
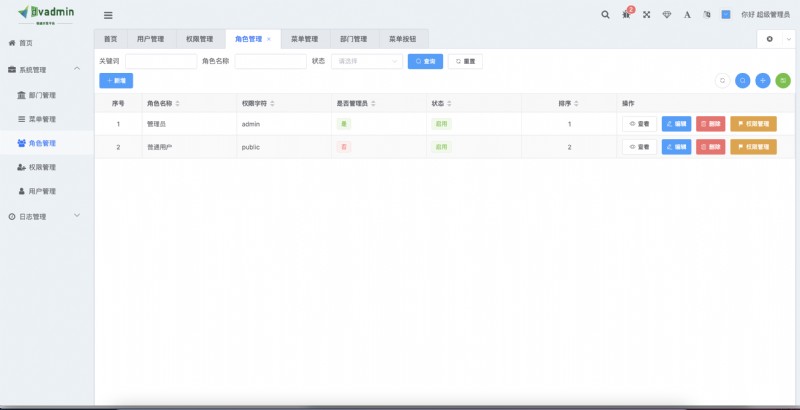
- Role management : Role menu permission assignment 、 Data permission assignment 、 Set roles to divide data scope and permissions by department .
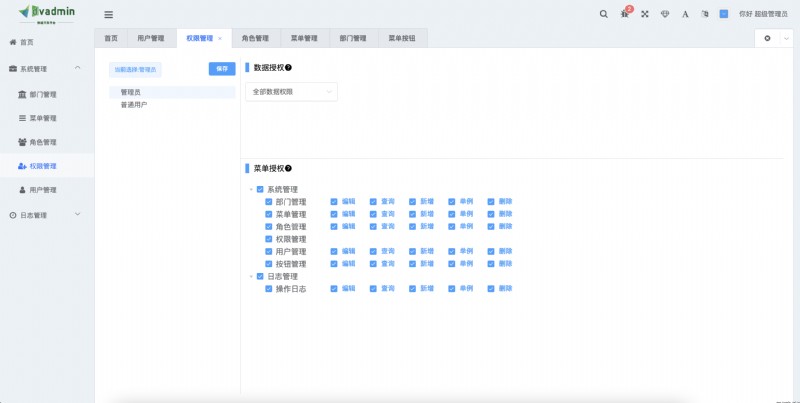
- 🧑 Rights management : The scope of authority of the authorization role .
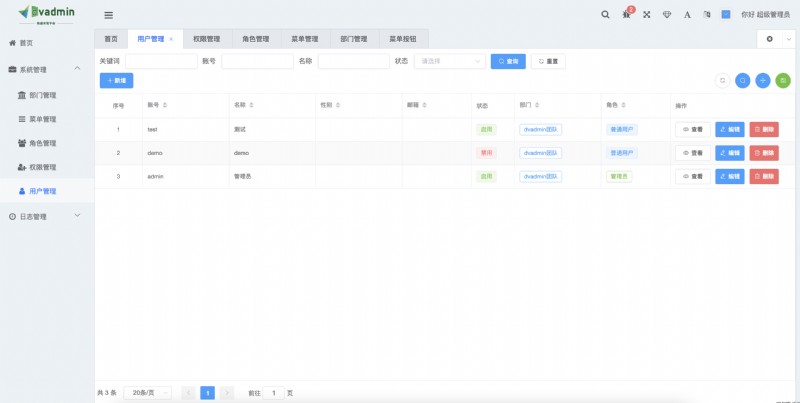
- User management : The user is the system operator , This function mainly completes the system user configuration .
- 🧑 The operation log : System normal operation logging and query ; System exception information logging and query .
- 🧑 Dictionary management : Maintain some fixed data that is often used in the system .
- Attachment Management : Manage all uploaded and exported files and pictures .
- Timing task : On-line ( add to 、 modify 、 Delete ) Task scheduling includes execution result log .~~
- The app store : Customize the required functions through plug-in , Plug and play ~~
front end *
Development 🦗
# Cloning project
git clone https://gitee.com/dvadmin/django-vue-admin-pro.git
# Enter project directory
cd web
# Installation dependency
npm install --registry=https://registry.npm.taobao.org
# Start the service
npm run dev
# Browser access http://localhost:8080
# .env.development Parameters such as startup port can be configured in the file
Release *
# Build the test environment
npm run build:stage
# Build the production environment
npm run build:prod
Back end
1. Enter project directory cd backend
2. In the project root directory , Copy ./conf/env.example.py The document is a new one to ./conf Under the folder , And rename to env.py
3. stay env.py Configuration database information
mysql Database version recommendations :8.0
mysql Database character set :utf8mb4
4. Install dependent environment
pip3 install -r requirements.txt
5. Execute the migration command :
python3 manage.py makemigrations
python3 manage.py migrate
6. Initialization data
python3 manage.py init
7. Start project
python3 manage.py runserver 127.0.0.1:8000
Or use daphne :
daphne -b 0.0.0.0 -8000 application.asgi:application
Initial account number :superadmin password :admin123456
Back end interface document address :http://127.0.0.1:8000/swagger
docker-compose function
# Install first docker-compose ( Install it by yourself ), Execute this command and wait for the installation , If used celery Please open the plug-in docker-compose.yml in celery Some notes
docker-compose up -d
# Initialize backend data ( The first execution is enough )
docker exec -ti dvadmin-pro-django bash
python manage.py makemigrations
python manage.py migrate
python manage.py init -y
exit
Front end address :http://127.0.0.1:8080
Back end address :http://127.0.0.1:8000
# Please put 127.0.0.1 Change to your own public network ip
account number :superadmin password :admin123456
# docker-compose stop it
docker-compose down
# docker-compose restart
docker-compose restart
# docker-compose Restart at startup build
docker-compose up -d --build
Illustration
