Catalog
One 、numpy
1、 Definition
2、 library
3、ndarray The creation of
4、 function
(1)arange Section
(2)linspace A sequence of equal differences
(3)zeros whole 0 matrix
(4)ones whole 1 matrix
(5) Custom rule generation ndarray
5、 attribute
(1)dtype
(2)shape
(3)size
(4)ndim
(5)itemsize
6、 Slice indices
7、 Capture pictures
8、numpy radio broadcast
9、 Picture change
( One ) Flip
( Two ) tailoring
( 3、 ... and ) The picture brightens and darkens
Two 、Pandas( To be added )
A very fast math library
Import and rename
import numpy as np # rename 0 Axis 1 Axis 2 Axis ...?
a=np.array([1,2,3,4],dtype=float)
print(a)
#[1. 2. 3. 4.]Parameters ( and list almost ):(start,end,step)--- Start number , End number , Interval interval
: Floating point numbers 2.0 To 3.0 There are five numbers between , So every 0.25 Output a number
aa = np.linspace(2.0, 3.0, num=5)
print(aa)
#[2. 2.25 2.5 2.75 3. ]# whole 1 matrix
b=np.ones((3,3),np.int)
print(b,type(b))
#[[1 1 1]
#[1 1 1]
#[1 1 1]] <class 'numpy.ndarray'>
# Custom rule generation ndarray
def func(i):
return i % 4 + 1
res=np.fromfunction(func, (10,))
print(res)
#[1. 2. 3. 4. 1. 2. 3. 4. 1. 2.]Attributes of each element
# No type specified
a=np.array([1,2,3,4])
print(a)
#[1 2 3 4]
# To specify dtype=float
a=np.array([1,2,3,4],dtype=float)
print(a)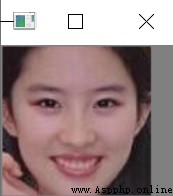
#[1. 2. 3. 4.]example 1: Read the dimension of the picture
img=cv2.imread("lyf.jpg")
print(img,type(img),img.shape)
# ...
# [126 112 113]
# [145 131 132]
# [137 123 124]]] <class 'numpy.ndarray'> (461, 438, 3)
example 2: Dimension of ordinary matrix
q = np.array([[1,2,3,4],[5,6,7,8],[7,8,9,10]])
print(q.shape)
#(3, 4)
# matrix q It's three rows and four columns Element number
Array dimensions
(1) visit Elements ( and list almost (start,end,step))
# section
s=np.arange(10)
print(s) #[0 1 2 3 4 5 6 7 8 9]
print(s[...]) # All elements [0 1 2 3 4 5 6 7 8 9]
print(s[::-1]) # All elements are in reverse order [9 8 7 6 5 4 3 2 1 0]
print(s[7:1:-2]) # from 7 To 1 Print one for each two elements , No 1[7 5 3]
(2) modify Elements
# Change the index to 4、5、6、7 The elements of
s[4:8]=45,46,57,67
print(s)
#[ 0 1 2 3 45 46 57 67 8 9]
# from 4 Start to 8( No 8) Every two elements modify one element
s[4:8:2]=45,46
print(s)
#[ 0 1 2 3 45 5 46 7 8 9]Use cascaded classifiers
(1) find haarcascade_frontalface_alt2.xml Pull the file to the project directory
(2) Create Cascading Classifier objects
detector=cv2.CascadeClassifier("haarcascade_frontalface_alt2.xml")
(3) Test pictures detectMultiScale()
faces=detector.detectMultiScale(img,1.3,3)
print(faces)
"""
It can detect all the faces in the picture , And use the face vector Save the coordinates of each face 、 size ( Use a rectangle to represent ), The function is called by the classifier object :
detectMultiScale
(
self,
image, # Pictures to detect
scaleFactor=None, # Zoom ratio 1.1、1.3
minNeighbors=None, # The minimum number of adjacent rectangles forming the detection target , The default value is 3 Odd number (1,3,5)
flags=None, # Is it scalable
minSize=None, # Limit the range of the obtained target area .
maxSize=None # Limit the range of the obtained target area .
)
"""
(4) Intercept the face area and display
for x,y,width,height in faces:
img=img[y:y+height,x:x+width]
cv2.imshow("face",img)
cv2.waitKey(0)
cv2.destroyAllWindows()
result :
Complete code
# Capture pictures
import cv2
img=cv2.imread("lyf.jpg")
print(img,type(img),img.shape)
# Create Cascading Classifier objects
detector=cv2.CascadeClassifier("haarcascade_frontalface_alt2.xml")
# Test pictures
faces=detector.detectMultiScale(img,1.3,3)
print(faces)
# Intercept the face area
for x,y,width,height in faces:
img=img[y:y+height,x:x+width]
cv2.imshow("face",img)
cv2.waitKey(0)
cv2.destroyAllWindows()(1) About X axial symmetry ( Flip up and down )
import cv2
img=cv2.imread("ysjx.png")
cv2.imshow("1",img)
# cv2 Upside down
img1=img[::-1]
cv2.imshow("X",img1)
cv2.waitKey(0)
cv2.destroyAllWindows()
(2) About Y axial symmetry
: Indicates that all lines ,::-1 Indicates that the column is in reverse order , So form a horizontal flip
# Flip the picture left and right : Indicates that all lines ,::-1 Indicates that the column is in reverse order , So form a horizontal flip
img2=img[:,::-1]
(3) About the origin symmetry ( Flip up, down, left and right )
# Along the origin The ranks are in reverse order
img3=img[::-1,::-1]
All the code :
import cv2
img=cv2.imread("ysjx.png")
cv2.imshow("1",img)
# Along x Axis Upside down : Row in reverse order
img1=img[::-1]
# Along Y Axis Flip the picture left and right : Indicates that all lines ,::-1 Indicates that the column is in reverse order , So form a horizontal flip
img2=img[:,::-1]
# Channel changes , Turn grey
# img3=img[:,:,-1]
# Along the origin The ranks are in reverse order
img3=img[::-1,::-1]
cv2.imshow("X",img1)
cv2.imshow("Y",img2)
cv2.imshow("0",img3)
cv2.waitKey(0)
cv2.destroyAllWindows()(1) Intercept the lower half
Related to height --- Row number ×0.5( Convert to int type )
# Intercept the lower half
img4=img[int(0.5*img.shape[0]):]
(2) Intercept the left half
Related to width --- Number of columns ×0.5( Convert to int type )
img5=img[:,:int(0.5*img.shape[1])]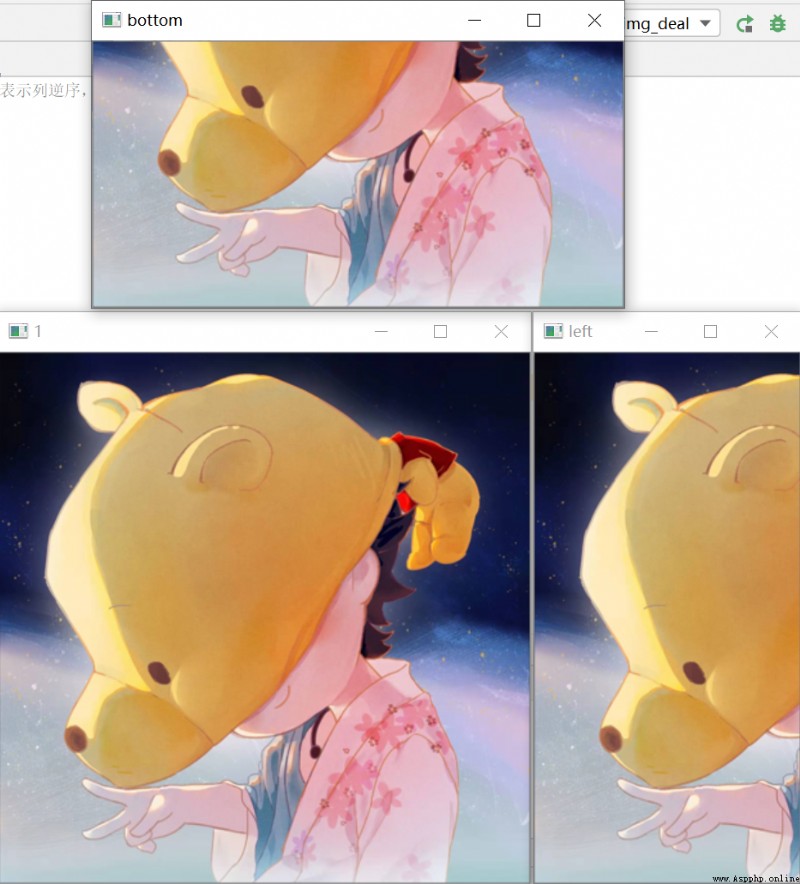
All the code :
import cv2
img=cv2.imread("ysjx.png")
cv2.imshow("1",img)
# Along x Axis Upside down : Row in reverse order
img1=img[::-1]
# Along Y Axis Flip the picture left and right : Indicates that all lines ,::-1 Indicates that the column is in reverse order , So form a horizontal flip
img2=img[:,::-1]
# img3=img[:,:,-1]
# Along the origin The ranks are in reverse order
img3=img[::-1,::-1]
# Intercept the lower half
img4=img[int(0.5*img.shape[0]):]
img5=img[:,:int(0.5*img.shape[1])]
# cv2.imshow("X",img1)
# cv2.imshow("Y",img2)
# cv2.imshow("0",img3)
cv2.imshow("bottom",img4)
cv2.imshow("left",img5)
cv2.waitKey(0)
cv2.destroyAllWindows()
(3) Number of intercepted rows ( Draw a line every other line )
# Extract the number of rows and intercept
img6=img[::2]
cv2.imshow("hg2",img6)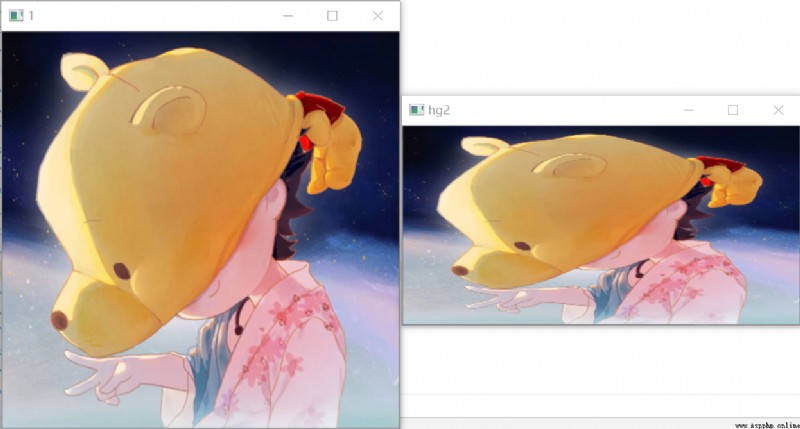
(1) The picture darkens (img*0.5 It doesn't have to be an integer , Therefore, it is necessary to deal with )
img7=(0.5*img).astype(np.uint8)
cv2.imshow("dark",img7)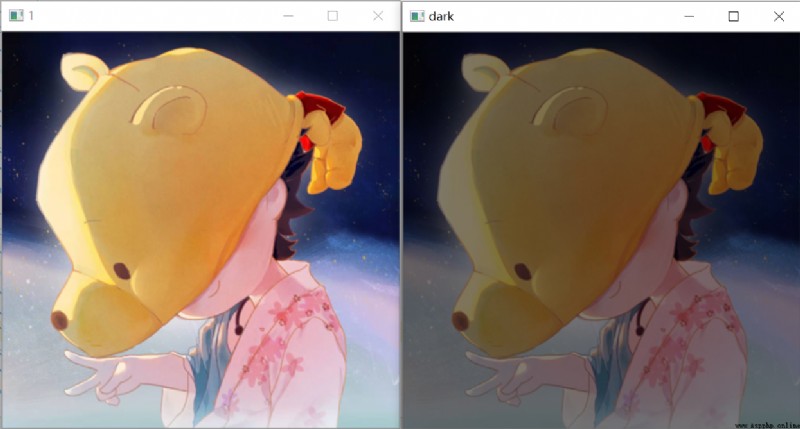
(2) The picture brightens ( You can't just *2, Because it's possible *2 Later is greater than 255, Therefore, it is necessary to deal with )
img8=np.clip(1.5*img,a_min=0.,a_max=255.).astype(np.uint8)
cv2.imshow("bling",img8)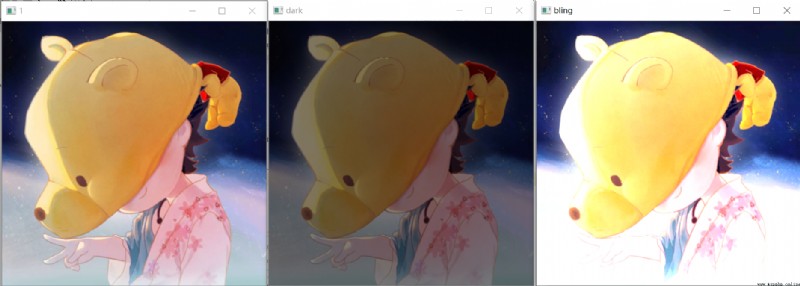
(6)bgr turn rgb( Channel changes )
The above treatment is bgr Pattern
(7) Grayscale processing ( To be added )