本章主要講述 【文章詳情頁實現評論功能】
環境:
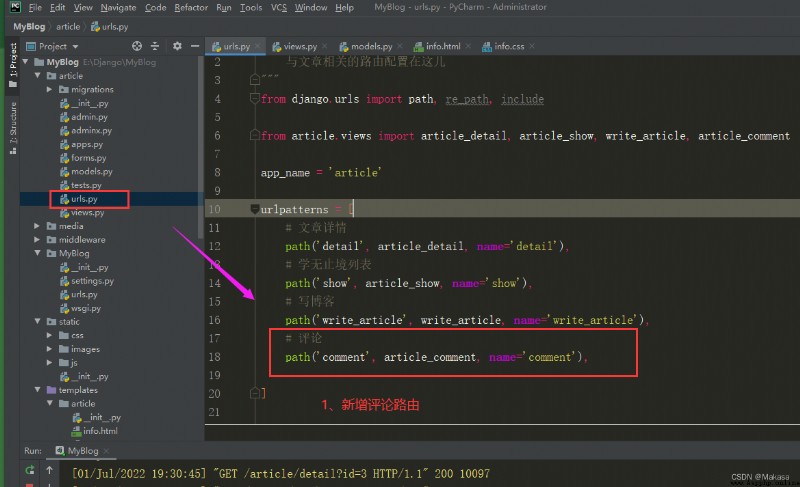
# 評論
path('comment', article_comment, name='comment'),
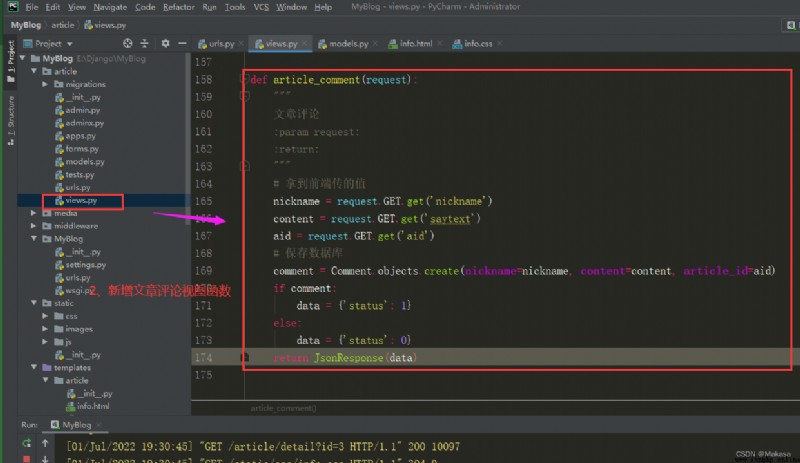
def article_comment(request):
"""
文章評論
:param request:
:return:
"""
# 拿到前端傳的值
nickname = request.GET.get('nickname')
content = request.GET.get('saytext')
aid = request.GET.get('aid')
# 保存數據庫
comment = Comment.objects.create(nickname=nickname, content=content, article_id=aid)
if comment:
data = {
'status': 1}
else:
data = {
'status': 0}
return JsonResponse(data)
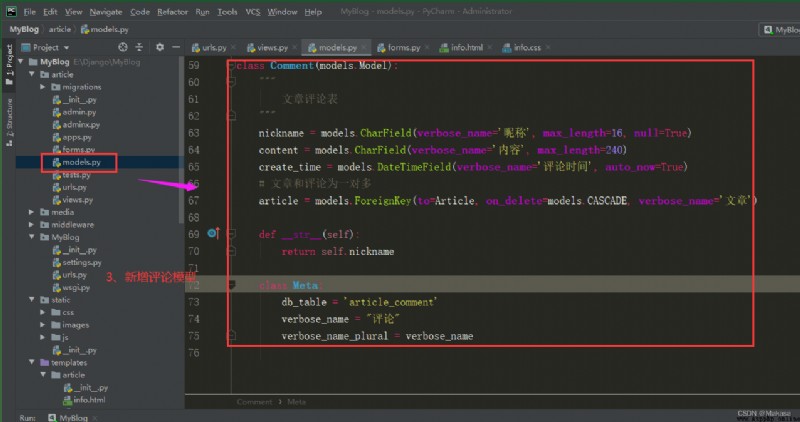
class Comment(models.Model):
"""
文章評論表
"""
nickname = models.CharField(verbose_name='昵稱', max_length=16, null=True)
content = models.CharField(verbose_name='內容', max_length=240)
create_time = models.DateTimeField(verbose_name='評論時間', auto_now=True)
# 文章和評論為一對多
article = models.ForeignKey(to=Article, on_delete=models.CASCADE, verbose_name='文章')
def __str__(self):
return self.nickname
class Meta:
db_table = 'article_comment'
verbose_name = "評論"
verbose_name_plural = verbose_name
python manage.py makemigrations
python manage.py migrate
{
% extends 'base.html' %}
{
% load staticfiles %}
{
% block title %}
博客詳情
{
% endblock %}
{
# css樣式部分 #}
{
% block mycss %}
{
# 引進樣式info.css ,m.css #}
<link href="{% static 'css/info.css' %}" rel="stylesheet">
<link href="{% static 'css/m.css' %}" rel="stylesheet">
{
% endblock %}
{
# 內容部分 #}
{
% block content %}
<div class="infos">
<div class="newsview">
{
# 內嵌title #}
<h2 class="intitle">您現在的位置是:<a href="{% url 'index' %}">網站首頁</a> > <a
href="{% url 'article:detail' %}?id={
{ current_article.id }}">文章詳情</a></h2>
<h3 class="news_title">{
{
current_article.title }}</h3>
{
# 作者 #}
<div class="news_author">
<span class="au01">{
{
current_article.user.username }}</span>
<span class="au02">{
{
current_article.date }}</span>
<span class="au03">共<b>{
{
current_article.click_num }}</b>人圍觀</span>
</div>
{
# 標簽 #}
<div class="tags">
{
# 遍歷拿到文章所有的標簽 #}
{
% for tag in current_article.tags.all %}
<a href="/">{
{
tag.name }}</a>
{
% endfor %}
</div>
{
# 簡介 #}
<div class="news_about">
<strong >簡介:</strong>{
{
current_article.description }}
</div>
{
# 文章詳情 #}
<div class="news_infos">
{
# 注意,如果xadmin後台文章內容裡面添加的p標簽,那內容引用這裡要加上safe進行過濾,否則就會把p標簽直接顯示在頁面上#}
{
{
current_article.content |safe }}
<p>
</p>
</div>
</div>
</div>
{
# 上一篇/下一篇 #}
<div class="nextinfo">
{
# 之前我們是直接前端傳參+1,-1,bug已修復 #}
<p>上一篇:<a href="{% url 'article:detail' %}?id={
{ previous_article.id }}">{
{
previous_article.title }}</a>
</p>
<p>下一篇:<a href="{% url 'article:detail' %}?id={
{ next_article.id }}">{
{
next_article.title }}</a></p>
</div>
{
# 相關文章 #}
<div class="otherlink">
<h2>相關文章</h2>
<ul class="otherlink_ul">
{
% for about_article in about_article_list %}
<li><a href="{% url 'article:detail' %}?id={
{ about_article.id }}">{
{
about_article.title }}</a></li>
{
% endfor %}
</ul>
</div>
{
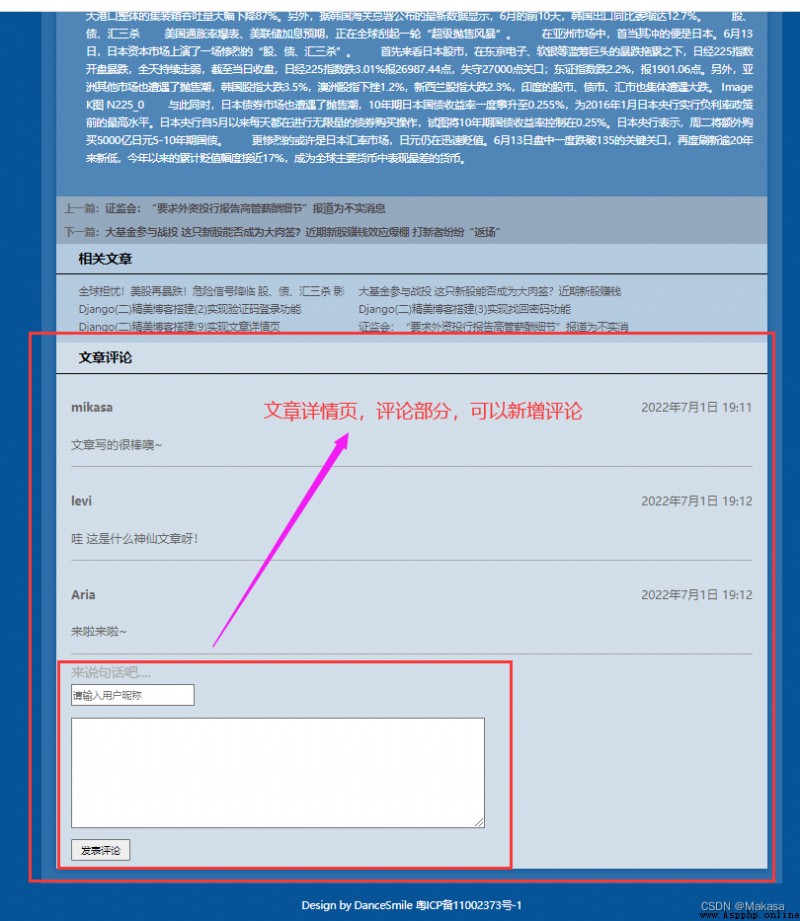
# 文章評論部分 #}
<div class="news_pl">
<h2>文章評論</h2>
<ul>
{
% for comment in comments %}
{
# 遍歷拿到文章的所有評論 #}
<li>
<p>
<span>{
{
comment.nickname }}</span>
<span>{
{
comment.create_time }}</span>
</p>
<p>{
{
comment.content }}</p>
</li>
{
% endfor %}
</ul>
{
# 發表評論 #}
<div class='plpost'>
<p>
<span>來說句話吧....</span>
</p>
<p>
<input type="text" name="uname" id="uname" placeholder="請輸入用戶昵稱" >
<br>
<p>
<textarea name="saytext" id="saytext" cols="80" rows="10" ></textarea>
</p>
<p><input type="submit" value="發表評論" id="btncomment" ></p>
</div>
</div>
{
% endblock %}
{
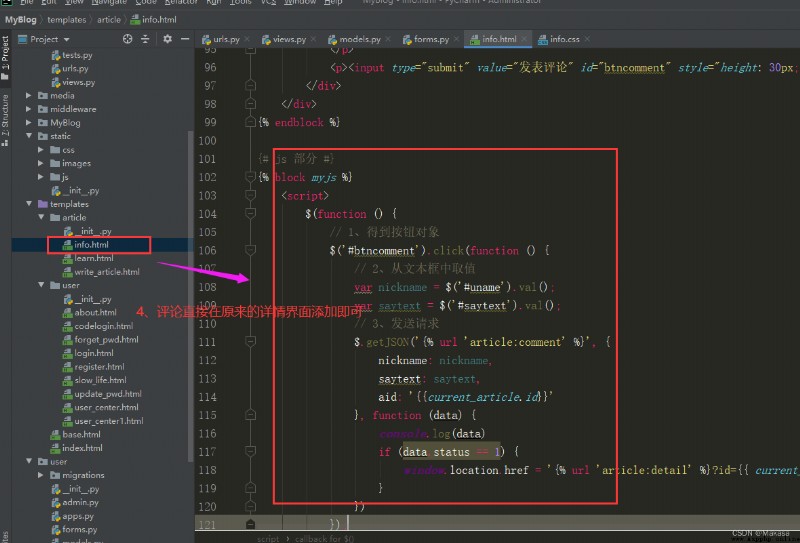
# js 部分 #}
{
% block myjs %}
<script>
$(function () {
// 1、得到按鈕對象
$('#btncomment').click(function () {
// 2、從文本框中取值
var nickname = $('#uname').val();
var saytext = $('#saytext').val();
// 3、發送請求
$.getJSON('{% url 'article:comment' %}', {
nickname: nickname,
saytext: saytext,
aid: '{
{current_article.id}}'
}, function (data) {
console.log(data)
if (data.status == 1) {
window.location.href = '{% url 'article:detail' %}?id={
{ current_article.id }}'
}
})
});
});
</script>
{
% endblock %}
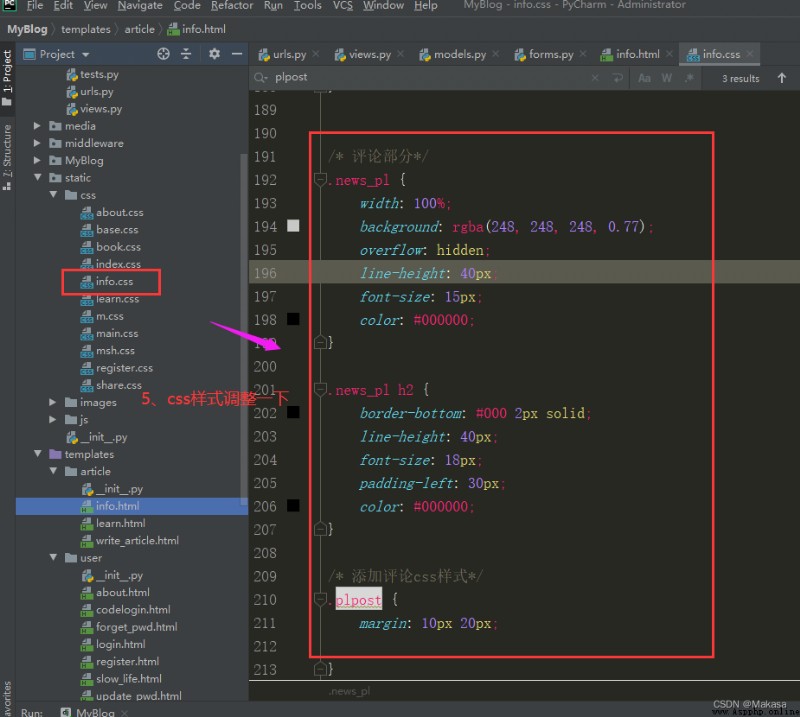
/* 評論部分*/
.news_pl {

width: 100%;
background: rgba(248, 248, 248, 0.77);
overflow: hidden;
line-height: 40px;
font-size: 15px;
color: #000000;
}
.news_pl h2 {

border-bottom: #000 2px solid;
line-height: 40px;
font-size: 18px;
padding-left: 30px;
color: #000000;
}
/* 添加評論css樣式*/
.plpost {

margin: 10px 20px;
}
.plpost > p:first-child {

height: 30px;
line-height: 30px;
color: #686868;
}
.plpost > p > span:first-child {

float: left;
font-size: 18px;
color: darkgray;
}