Baidu AI Open platform provides many functions . It includes face detection 、 Face to face comparison 、 Face search, etc . It can be said that the function is more powerful .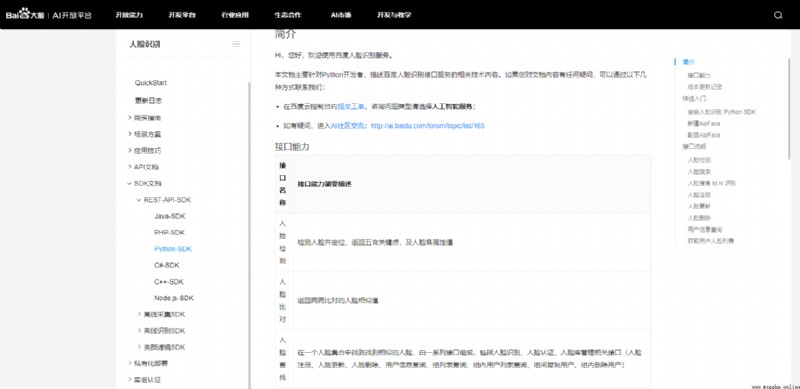
I plan to use it next python Do something about it , Realize face detection and comparison .
First we need to sign up for an account , Then create an application and download Python Of SDK.
Downloaded SDK after , Use the command line window to decompress SDK Under the table of contents , use python setup.py install install .
Then you can use related services .
First step , Import related third-party libraries
# This is Baidu SDK Provide a library about face recognition
from aip import AipFace
import os
import numpy as np
import matplotlib.pyplot as plt
# The following library is used to convert pictures
import base64
Next, it is equivalent to initializing .
APP_ID = '【 Here we need to use the... Provided by the application you created APP ID】'
API_KEY = '【 ditto 】'
SK = '【 ditto 】'
client = AipFace(APP_ID,API_KEY,SK)
# First use of os Convert to the directory where the project is located
os.chdir(r'E:\baidu_face')
# Let's define a function , To get your picture , And convert to base64 Format
def get_img(path):
with open(path,'rb') as fp:
return base64.b64encode(fp.read()).decode()
# Next, get the picture and detect
img = get_img('photo/lena.png')
# Call face detection
imgType = "BASE64"
result = client.detect(img,imgType)
This is the result returned .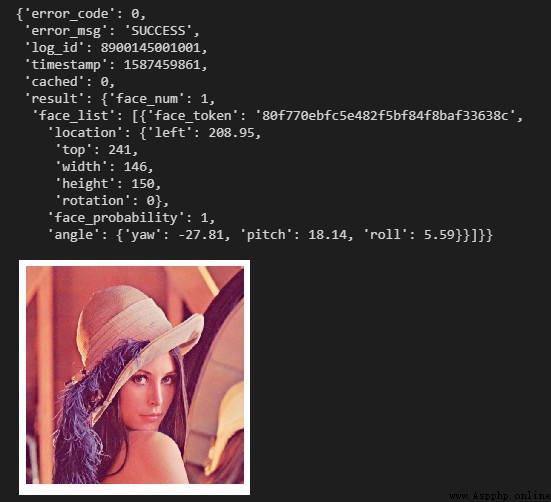
Of course , There is no image tool yet , So I can't see the picture below . However, the above information still needs to be read , What is returned here is not json, It is python Dictionary .
So the next step is to filter the information , From which the range of human faces is proposed .
# Extract face information
face_list = result['result']['face_list'][0]['location']
x = face_list['left']
y = face_list['top']
w = face_list['width']
h = face_list['height']
# Draw a rectangular box
# First import another module
import matplotlib.patches as mpt
ax = plt.gca()
imgx = plt.imread('photo/lena.png')
plt.imshow(imgx)
rect = mpt.Rectangle((x,y),w,h,linewidth=2,edgecolor='r',facecolor='none')
ax.add_patch(rect)
plt.axis('off')
plt.show()
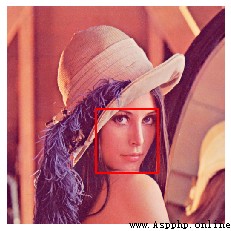
Here is a direct comparison of two pictures , And then return the result .
First, the initialization steps are already in the above , So let's go straight ahead .
img1 = get_img('photo/2.jpg')
img2 = get_img('photo/10.jpg')
face_result = client.match([
{

'image': img1,
'image_type': 'BASE64',
},
{

'image': img2,
'image_type': 'BASE64',
}
])

The dictionary is still returned , So we need to extract the parameters of similarity :score
score = face_result['result']['score']
# Print the results
print(' Similarity degree :{}'.format(score))
# Let's take a look at these two pictures
plt.subplot(121)
plt.imshow(plt.imread('photo/2.jpg'))
plt.axis('off')
plt.subplot(122)
plt.imshow(plt.imread('photo/10.jpg'))
plt.axis('off')
plt.show()
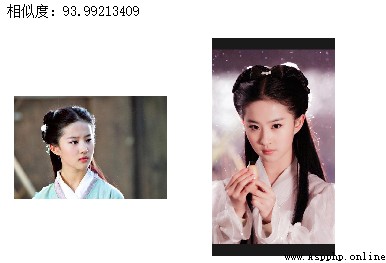
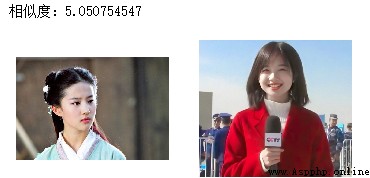
However, this does not reflect anything , So let's take another person's image and compare it :
img1 = get_img('photo/2.jpg')
img2 = get_img('photo/1.jpg')
face_result = client.match([
{

'image': img1,
'image_type': 'BASE64',
},
{

'image': img2,
'image_type': 'BASE64',
}
])
score = face_result['result']['score']
# Print the results
print(' Similarity degree :{}'.format(score))
# Let's take a look at these two pictures
plt.subplot(121)
plt.imshow(plt.imread('photo/2.jpg'))
plt.axis('off')
plt.subplot(122)
plt.imshow(plt.imread('photo/1.jpg'))
plt.axis('off')
plt.show()
Here is basically copy and paste code , So if you really want to use it, you can package it . The result is :