The first 7 Chapter Frame controls (Frame And LabelFrame)
Frame controls (Frame and LabelFrame), Create a rectangular area on the screen , More as a container to layout other controls , Such as tag 、 Button 、 Input box, etc , Can be laid out in a frame . Frame controls are generally used when the layout is very complex , Especially when there are many controls that need to be used . You can think of a frame control as a container , It can store various controls . Imagine a closet partition or shelf in your home , Different clothes can be well classified and placed , The frame control is used for this effect . If there is no frame control , Many complex layouts are difficult to complete or implement .
7.1 Property list
The specific attributes are listed as follows :
7.1.1 background(bg)
background Is used to set the background color of the frame .bg It's an abbreviation .
import tkinter as tk
root=tk.Tk()
root.geometry('300x240')
b1 = tk.Frame(root,bg='blue',width=100,height=100)
b1.pack()
root.mainloop()
result :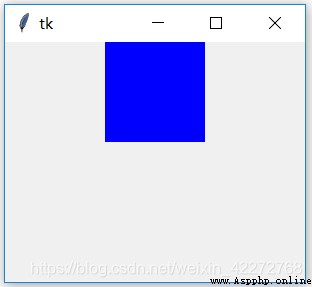
Frame control is to create a rectangular area on the screen , Used to hold other controls .
7.1.2 borderwidth(bd)
borderwidth Define the border width of the frame control .bd It's an abbreviation . The default border width is 0. You can adjust the width of the border by setting this property .
import tkinter as tk
root=tk.Tk()
root.geometry('300x240')
b1 = tk.Frame(root,bg='blue',bd=3)
b1.pack()
b2=tk.Entry(b1,width=20)
b2.pack()
root.mainloop()
result :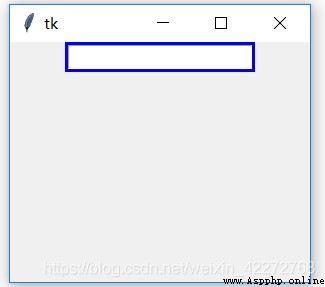
explain : The blue part on the edge of the input box is the effect after the border is set . If no border is set , There is no blue part .
7.1.3 class
Assign a to the frame control class name .
import tkinter as tk
root=tk.Tk()
root.geometry('300x240')
b1 = tk.Frame(root,bg='blue',bd=3,class_='good')
b1.pack()
b2=tk.Entry(b1,width=20)
b2.pack()
root.mainloop()
explain : because class yes Python Key words of , So I want to add an underline here ’_’.
7.1.4 colormap
Specify color mapping . Some monitors only support 256 Color ( Some even less ). This display usually provides a color map to specify which 256 Color . This option allows you to specify the color map and its subassemblies for this frame .
By default , A new framework uses the same color mapping as its parent . Use this option , You can reuse the color mapping of another window ( This window must be on the same screen , And have the same visual characteristics ). After creating the framework , This option cannot be changed .
7.1.5 container
container = True When , You cannot create a child control in it .False You can . If true, Then this frame Is a container widget . The default is false.
7.1.6 cursor
The shape of the mouse when it passes through the frame control , For more information, see 3.3.6 section .
7.1.7 height and width
Set the height and width of the frame control , Unit is pixel . But if there are child controls , The system will automatically calculate the size of the frame control according to the size of the child control ,height and width Attributes are useless .
7.1.8 highlightbackground,highlightcolor and highlightthickness
These three attributes are used together .highlightbackground Is the border color when the frame control does not get input focus . As shown in Figure 1 .highlightcolor Is the border color when the frame control gets the input focus . As shown in Figure 2 .highlightthickness Defines the width of the border . If you do not define the width of this border , Then it won't show highlightbackground and highlightcolor Defined face , because highlightthickness The default value is 0.
import tkinter as tk
root=tk.Tk()
root.geometry('300x240')
b1 = tk.Frame(root,bg='blue',width=100,height=100,
highlightbackground='red',
highlightcolor='green',
highlightthickness=5,takefocus=1)
b1.pack()
b2=tk.Entry(root)
b2.pack()
root.mainloop()
result :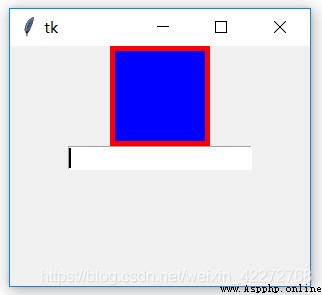
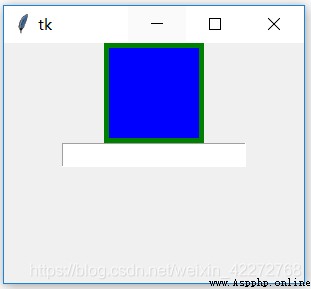
7.1.9 padx and pady
Set the inner margin of the frame control . See the description in the previous chapter .
7.1.10 relief
Set the effect of the border . For details, see 3.3.5 section . If not defined borderwidth, There is no relief There's no effect . in other words relief It is the beautification effect of the border , The width of the border is 0, that relief Nature has no effect .
import tkinter as tk
root=tk.Tk()
root.geometry('300x240')
b1 = tk.Frame(root,bg='blue',border=10,width=100,
height=100,relief=tk.GROOVE)
b1.pack()
root.mainloop()
result :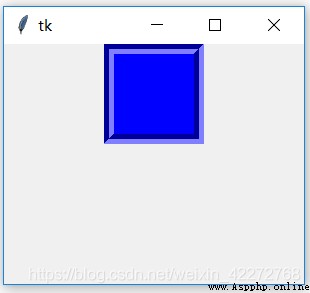
7.1.11 takefocus
This property is used to set the frame control to get the input focus .takefocus=True Indicates that input focus can be obtained ,takefocus=False Indicates no . The default value is False.
7.1.12 visual
Define how frames are displayed . The value is :
best, directcolor, grayscale, greyscale, pseudocolor, staticcolor, staticgray, staticgrey, truecolor, and default
However, many values are for low-end display devices in the past . At present, only best,truecolor and default You can also take values . Other values are exceptions .
7.2 LabelFrame( Label frame control )
LabelFrame Label frame control , Than Frame Frame control has one more label , You can prompt the purpose of the child controls placed in the frame .
There are more label frame controls than frame controls 5 Attributes , It's all about labels .
import tkinter as tk
root=tk.Tk()
root.geometry('300x240')
b1 = tk.LabelFrame(root,width=100,height=100,
text=' label ',padx=10,pady=10)
b1.pack()
b2=tk.Entry(b1)
b2.pack()
root.mainloop()
result :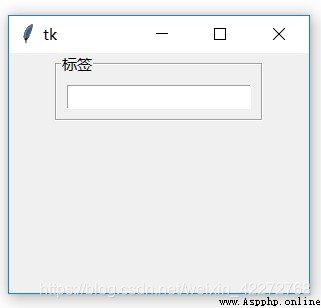
7.2.2 font
Set the font of the text in the label , Only one font can be set . For a detailed description, see 3.3.3 section .
import tkinter as tk
root=tk.Tk()
root.geometry('300x240')
b1 = tk.LabelFrame(root,width=100,height=100,
text=' label ',padx=10,pady=10,
font=('times',20,'bold'))
b1.pack()
b2=tk.Entry(b1)
b2.pack()
root.mainloop()
result :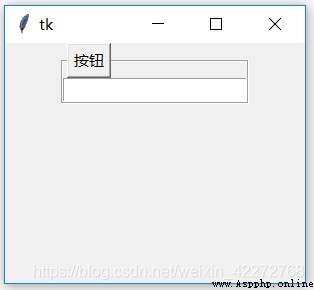
7.2.3 foreground
Set foreground in label ( Text ) Color .
import tkinter as tk
root=tk.Tk()
root.geometry('300x240')
b1 = tk.LabelFrame(root,width=100,height=100,
text=' label ',padx=10,pady=10,
foreground='red')
b1.pack()
b2=tk.Entry(b1)
b2.pack()
root.mainloop()
result :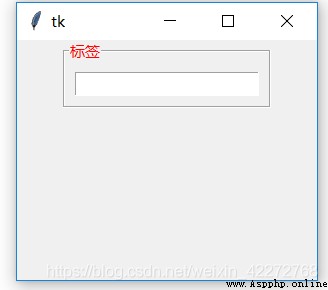
7.2.4 labelanchor
Set where to display labels . Yes 12 A place :e, en, es, n, ne, nw, s, se, sw, w, wn, and ws. It is a combination of southeast and northwest directions , The definition of southeast and northwest follows the definition of map , It is left East and right West , Up north down south .
import tkinter as tk
root=tk.Tk()
root.geometry('300x240')
b1 = tk.LabelFrame(root,width=100,height=100,text=' Label location :e',padx=10,pady=30,labelanchor='e')
b1.pack()
b2=tk.Entry(b1)
b2.pack()
root.mainloop()
result :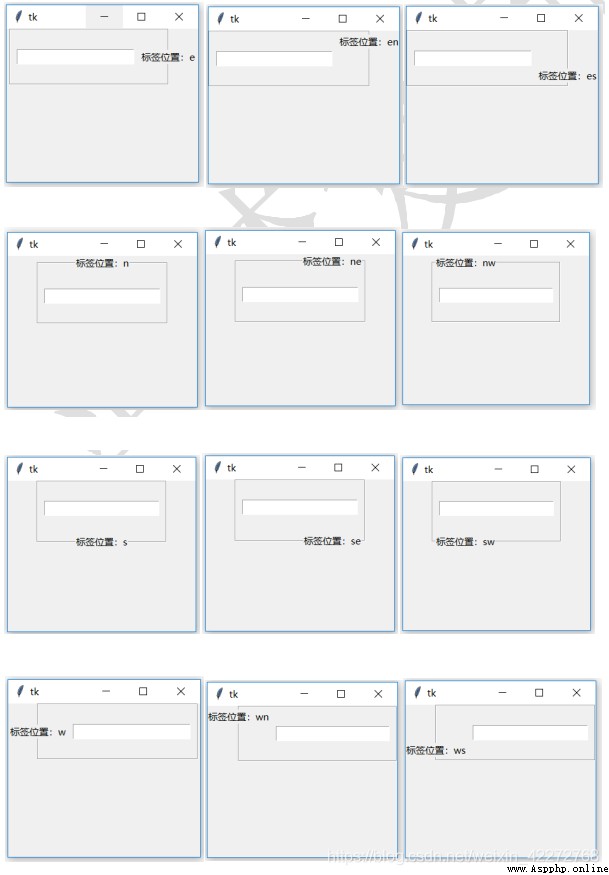
7.2.5 labelwidget
By default , The label control is used to display prompt information . But it can also be replaced with other controls , For example, button. 、 Input box, etc . The method used is to define a control first , And then assign it to labelwidget That's all right. .
import tkinter as tk
root=tk.Tk()
root.geometry('300x240')
b3=tk.Button(root,text=' Button ')
b1 = tk.LabelFrame(root,width=100,
height=100,labelwidget=b3)
b1.pack()
b2=tk.Entry(b1)
b2.pack()
root.mainloop()
result :