The first 10 Chapter Text control (Text)
Text control (Text) A control used to display multiple lines of formatted text . Text controls are powerful , Very flexible , It can do a lot of things .. In addition to displaying multiple lines of text , You can also edit text , display picture , Even web pages .
You can put words 、 identification (marks)、 Pictures and embedded windows are placed in text controls . Different formats can be displayed in different areas . If you associate the callback function with events in different regions , You can also make different responses to different areas .
By default , Text controls are editable . You can use the mouse or keyboard to edit . If you just want to display text or pictures , You can disable the editing function of the text control , Just set up state=tk.DISABLED That's all right. .
10.1 attribute
import tkinter as tk
root=tk.Tk()
root.geometry('300x240')
b1=tk.Text(root,bg='green')
b1.pack()
root.mainloop()
result :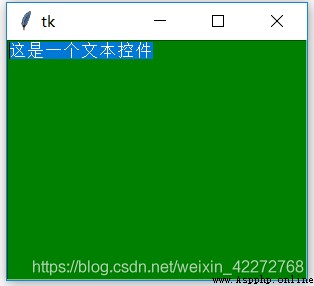
10.1.3 cursor
Define the cursor type of the text control . The default is ’ Insert cursor ’. For details, see 3.3.6 section
import tkinter as tk
root=tk.Tk()
root.geometry('300x240')
b1=tk.Text(root,cursor='mouse')
b1.pack()
root.mainloop()
result :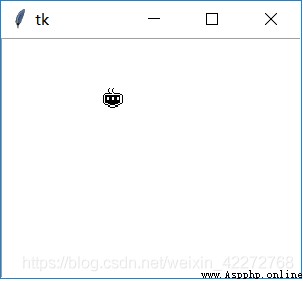
10.1.4 exportselection
Is a Boolean value , It has no effect in text control .
10.1.5 foreground(fg)
Define the color of the input text . The default is black .
import tkinter as tk
root=tk.Tk()
root.geometry('300x240')
b1=tk.Text(root,fg='red')
b1.pack()
root.mainloop()
result :
10.1.6 font
Define the font size . Text control can set multiple fonts to display at the same time . For specific methods, see tag.
10.1.7 Height and width
Define the height and width of the text control . Height in behavioral units , The width is in characters . The measurement of height and width is also related to the font size .
import tkinter as tk
root=tk.Tk()
root.geometry('300x240')
b1=tk.Text(root,height=5,width=10)
b1.pack()
root.mainloop()
result :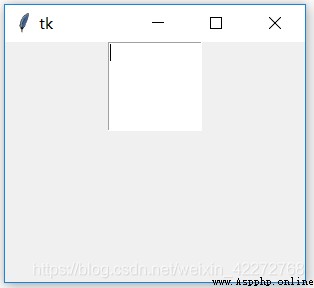
10.1.8 highlightbackground、highlightcolor and highlightthickness
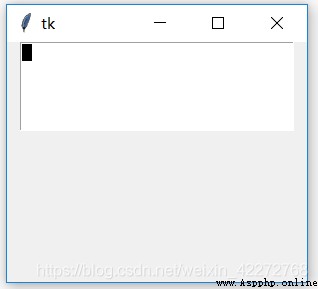
The function of these three parameters is to add a frame to the text control . When you don't get input focus , The color of the outer frame is determined by highlightbackground Set up , The color of the outline when the focus is input by highlightcolor Set up . The width of the outer frame is determined by highlightthickness Set up .
import tkinter as tk
root=tk.Tk()
root.geometry('300x240')
b1=tk.Text(root,height=5,width=10,
highlightthickness=5,highlightcolor='red',
highlightbackground='yellow')
b1.pack()
b2=tk.Entry(root)
b2.pack()
root.mainloop()
result :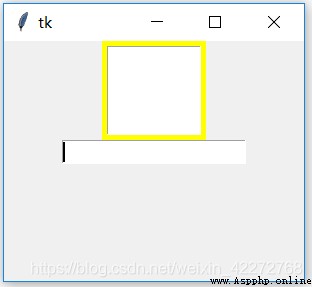
10.1.9 insertbackground and insertborderwidth
The background color and width of the insertion cursor . See input control (Entry) The instructions in .
import tkinter as tk
root=tk.Tk()
root.geometry('300x240')
b1=tk.Text(root,height=5,width=30,insertbackground ='red')
b1.pack()
root.mainloop()
result :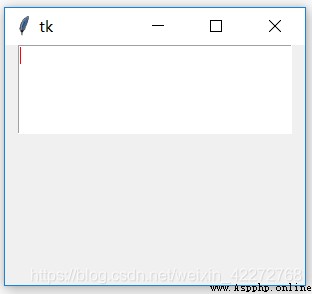
explain : The insertion cursor has turned red .
import tkinter as tk
root=tk.Tk()
root.geometry('300x240')
b1=tk.Text(root,height=5,width=30,
insertbackground ='red',
insertborderwidth=-20)
b1.pack()
root.mainloop()
result :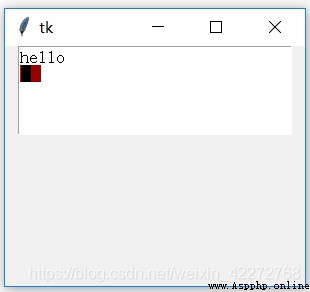
explain :insertborderwidth Is to set the border of the insertion cursor . But positive values have only one effect , Instead, a negative value can be set to insert the border of the cursor according to the given value .
10.1.10 insertofftime and insertontime
These two parameters set the time when the cursor flashes .insertofftime Is the time when the cursor is not displayed ,insertontime Is the time displayed by the cursor . In this way, the cursor flickering effect can be realized . In milliseconds .
import tkinter as tk
root=tk.Tk()
root.geometry('300x240')
b1=tk.Text(root,height=5,width=30,insertofftime=200,insertontime=1000)
b1.pack()
root.mainloop()
10.1.11 insertwidth
Define the width of the insertion cursor . Unit is pixel .
import tkinter as tk
root=tk.Tk()
root.geometry('300x240')
b1=tk.Text(root,height=5,width=30,insertwidth=20)
b1.pack()
root.mainloop()
result :
10.1.12 maxundo
See 10.1.23 undo/redo chapter .
10.1.13 padx and pady
Set the horizontal and vertical inside margins of the text control . Please refer to the description in the previous chapter .
10.1.14 relief
Of the border of the text control 3D effect . For details, see 3.3.5 section .
import tkinter as tk
root=tk.Tk()
root.geometry('300x240')
b1=tk.Text(root,height=5,width=30,bd=5,relief='groove')
b1.pack()
root.mainloop()
result :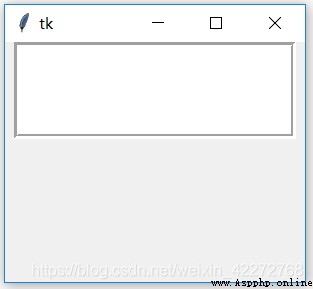
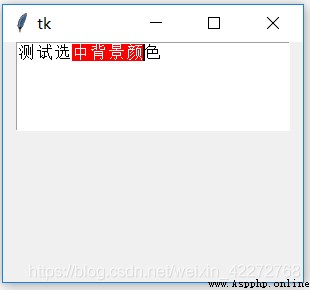
10.1.15 selectbackground
The background color of the selected text . The default is blue .
import tkinter as tk
root=tk.Tk()
root.geometry('300x240')
b1=tk.Text(root,height=5,width=30,selectbackground='red')
b1.pack()
root.mainloop()
result :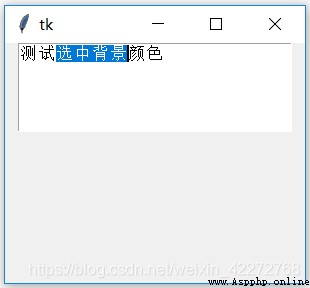
10.1.16 selectborderwidth
The border width of the selected area .
10.1.17 selectforeground
The font color of the selected text . The default is white .
import tkinter as tk
root=tk.Tk()
root.geometry('300x240')
b1=tk.Text(root,height=5,width=30,selectforeground='yellow')
b1.pack()
root.mainloop()
result :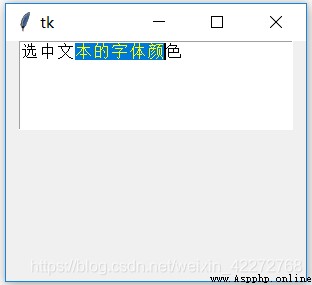
10.1.18 setgrid
It's a boolean Parameters . If set to True, Maximizes the window , This will show the complete Text Control .
10.1.19 spacing1,spacing2 and spacing3
spacing1: Additional uplink spacing . If there is a line break , Increase spacing only on the first line
spacing2; Line spacing of broken lines
spacing3: Additional downlink spacing . If there is a line break , Show only on the last line .
# Code 1:
import tkinter as tk
root=tk.Tk()
root.geometry('300x240')
b1=tk.Text(root)
b1.pack()
root.mainloop()
# Code 2:
import tkinter as tk
root=tk.Tk()
root.geometry('300x240')
b1=tk.Text(root,width=25,spacing1=20,
spacing2=30,spacing3=50)
b1.pack()
root.mainloop()
result :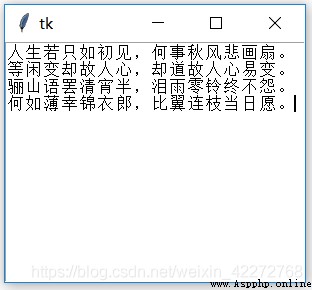
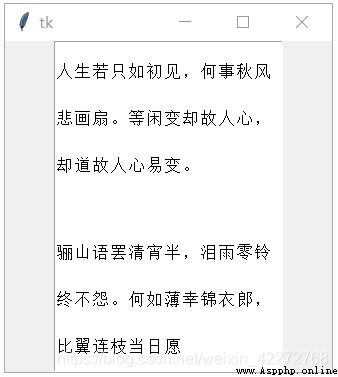
explain :
The distance between the first row and the top of Figure 2 , Is the uplink spacing , Yes spacing1 Set up
Line break in Figure 2 , from spacing2 Set up . What is set in the program is 30, You can see that there is a clear gap .
The largest spacing in Figure 2 is the downlink spacing ,spacing3=50.
Compare it with the figure , Because figure 1 does not have any spacing settings .
10.1.20 state
The text control only has 2 States :NORMAL and DISABLED.NORMAL Status can be edited 、 Input text and other functions . and DISABLED You can't do anything .
10.1.21 tabs
tabs Is to set the text control tab The location of . The default value is 8 Characters , That is, every time you press Tab key , The insertion cursor moves 8 Characters . If you have entered 2 Characters , So just move 6 Characters . That is, every time you move 8 Multiples of characters .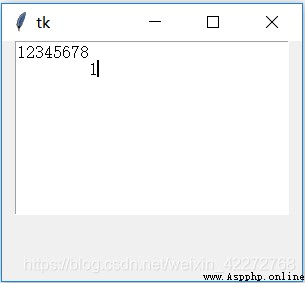
tabs Property to set the distance of each move , See the description below for specific units :
No parameter : Represents moving in pixel units
c= centimeter
i= Inch
M= mm
P= Printer point , namely 1/70 Inch 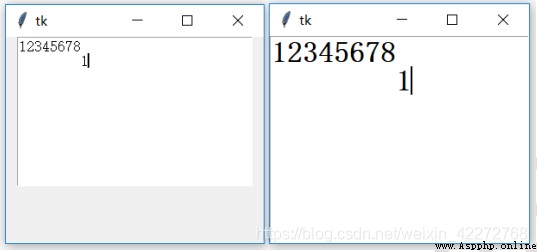
explain : default Tabs by 8 Characters , Not affected by font size
Tab The movement of can be nonlinear , That is to say, the distance of each movement can be different , Each defined moving distance can be declared as a tuple , Assign a value to tabs attribute , such as :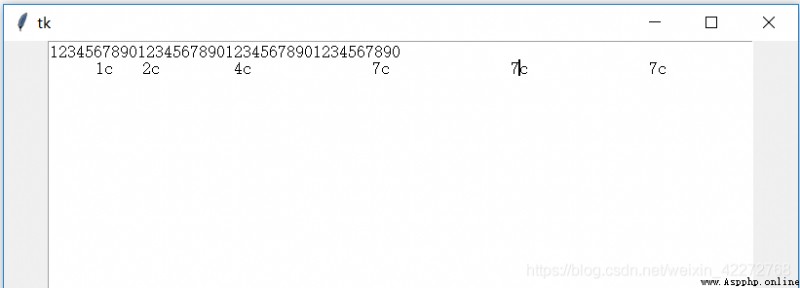
10.1.22 takefocus
Set whether you can pass Tab Get input focus . The default is yes . If takefocus Set to False, Can't use Tab Key to get input focus , Only use the mouse to operate .
10.1.23 undo/redo
Text control supports undo/redo function . Default is not supported , It needs to be set by undo=True To open undo/redo function . This function is realized by recording every modification . Every time you insert or delete , Are recorded on a stack . If delete , Record the deleted text ; If it's insertion , Record the inserted text . At the same time , There are also locations where records are deleted or inserted .
import tkinter as tk
root=tk.Tk()
root.geometry('300x240')
b1=tk.Text(root,undo=True)
b1.pack()
root.mainloop()
Undo/redo It is judged by the movement of the cursor . If the cursor is moved sequentially , No new tags will be inserted . For example, we entered “123and456” If we move the cursor back to ”and” It's about , And delete ”and”, The built-in algorithm inserts a tag , It's the same as what we input ”123and456” Compartmentalize . If this time , call undo function , Will recover first ’and’, And then delete it “123and456”
These tags are recorded by default . It can actually be done by autoseparators Property to set . By default autoseparators=True. If you put autoseparators=False, Each modification will not be recorded .Undo All entries will be deleted ,redo Restore everything . Simple and crude .
Another attribute is maxundo, Record the largest undo Times . The default value is 0, That is, record all modification actions . If you set maxundo=5, Just record 5 Modification behavior .
import tkinter as tk
root=tk.Tk()
root.geometry('300x240')
b1=tk.Text(root,undo=True,maxundo=5)
b1.pack()
root.mainloop()
result :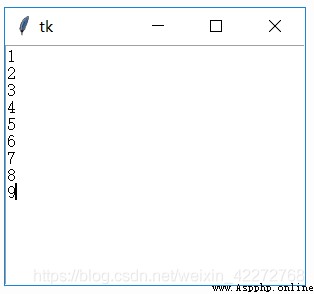
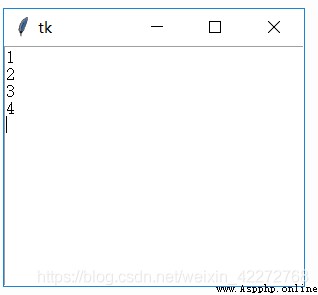
explain : Set up maxundo=5 after , The system only records 5 Time modification , Can only undo5 Time .
10.1.24 wrap
wrap Property to set how to wrap the contents of the text control . There are two ways to wrap lines :
(1) Character separation
When a line break occurs , This method can separate at any character .
(2) Word separation
When a line break occurs , This method will separate by word .
# Code 1:
import tkinter as tk
root=tk.Tk()
root.geometry('300x240')
b1=tk.Text(root,width=15,wrap=tk.CHAR)
b1.pack()
root.mainloop()
# Code 2:
import tkinter as tk
root=tk.Tk()
root.geometry('300x240')
b1=tk.Text(root,width=15,wrap=tk.WORD)
b1.pack()
root.mainloop()
result :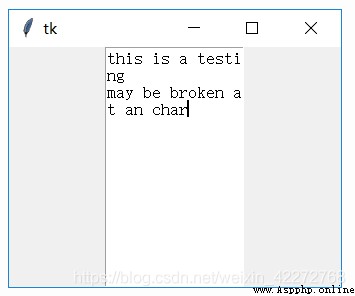
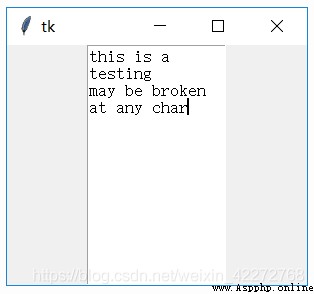
The line break display can also be turned off . At this time, all the characters are on one line , Unless you enter enter .
import tkinter as tk
root=tk.Tk()
root.geometry('300x240')
b1=tk.Text(root,width=15,wrap=tk.NONE)
b1.pack()
root.mainloop()
10.1.25 xscrollcommand
Add a horizontal scroll bar to the text control .
import tkinter as tk
root=tk.Tk()
root.geometry('300x240')
f=tk.Frame(root)
s1 = tk.Scrollbar(f,orient=tk.HORIZONTAL)
b1 = tk.Text(f,width=20,height=5,
xscrollcommand=s1.set,wrap=tk.NONE)
b1.pack()
s1.pack(side=tk.BOTTOM,fill=tk.X)
s1.config(command=b1.xview)
f.pack()
root.mainloop()
result :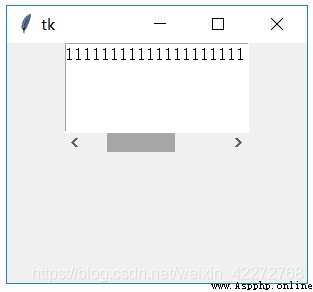
10.1.26 yscrollcommand
Add a vertical scroll bar to the text control .
import tkinter as tk
root=tk.Tk()
root.geometry('300x240')
f=tk.Frame(root)
s1 = tk.Scrollbar(f,orient=tk.VERTICAL)
b1 = tk.Text(f,width=20,height=5,
yscrollcommand=s1.set,wrap=tk.NONE)
s1.pack(side=tk.RIGHT,fill=tk.Y)
s1.config(command=b1.yview)
b1.pack()
f.pack()
root.mainloop()
result :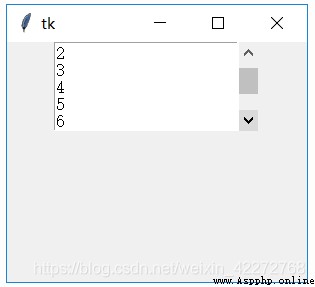
You can also add horizontal and vertical scroll bars to text controls .
import tkinter as tk
root=tk.Tk()
root.geometry('300x240')
f=tk.Frame(root)
s1 = tk.Scrollbar(f,orient=tk.VERTICAL)
s2 = tk.Scrollbar(f,orient=tk.HORIZONTAL)
b1 = tk.Text(f,width=20,height=5,wrap=tk.NONE,
yscrollcommand=s1.set,
xscrollcommand=s2.set)
s1.pack(side=tk.RIGHT,fill=tk.Y)
s1.config(command=b1.yview)
s2.pack(side=tk.BOTTOM,fill=tk.X)
s2.config(command=b1.xview)
b1.pack(fill=tk.BOTH)
f.pack()
root.mainloop()
result :