This is the third page of the reptile column 「28」 Original article
In the last section we used OpenCV The figure verification code shell is identified . At this time, a friend may say , Now deep learning is not very accurate for image recognition ? Can deep learning be used to identify the notch position of sliding verification code ?
Of course, it can be , In this section, let's learn about the method of using deep learning to identify sliding verification codes .
similarly , This section mainly focuses on the process of identifying the verification code gap by using the deep learning model , Therefore, we will not focus on the algorithm of deep learning model , In addition, because the implementation of the whole model is complex , This section also does not write code from scratch , Instead, they tend to download the code in advance for practical practice .
So in the end , Please download the code in advance , Warehouse address is :github.com/Python3WebS… Git Clone it :
git clone https://github.com/Python3WebSpider/DeepLearningSlideCaptcha2.git
After running , There will be a local DeepLearningImageCaptcha2 Folder , It proves that cloning is successful .
After cloning , Please switch to DeepLearningImageCaptcha2 Folder , Install the necessary dependent Libraries :
pip3 install -r requirements.txt
After running , All the dependent libraries required for the operation of the project are installed .
After the above preparations are completed , Then let's begin this section of formal study .
Identify the problem of sliding verification code gap , In fact, it can be attributed to the problem of target detection . What is target detection ? Here is a brief introduction .
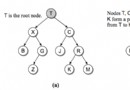
object detection , seeing the name of a thing one thinks of its function , It's about finding out what we're looking for . For example, give me a 「 Dog 」 Pictures of the , As shown in the figure :
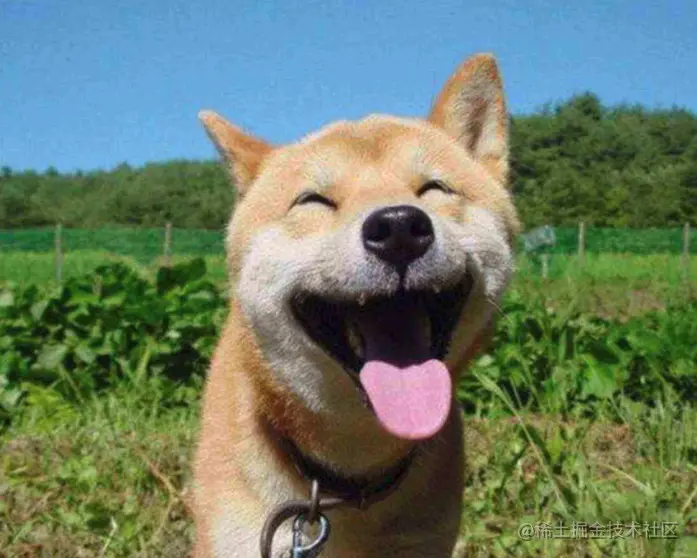
We want to know where the dog is , Where's its tongue , When you find them, select them , This is target detection .
After the target detection algorithm processing , The picture we expect to get is like this :
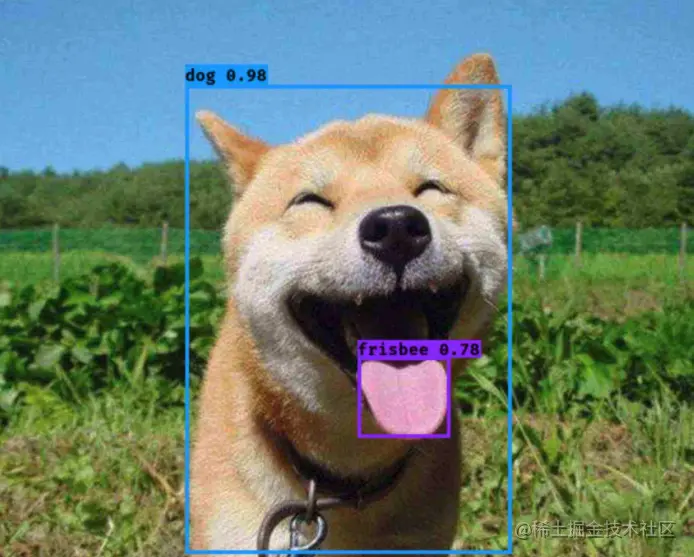
You can see that the dog and its tongue are selected from the box , This completes a good target detection .
Now the more popular target detection algorithms are R-CNN、Fast R-CNN、Faster R-CNN、SSD、YOLO etc. , If you are interested, you can learn something about , Of course, not knowing much has no impact on the objectives to be achieved in this section .
At present, there are two main algorithms for target detection , There are one-stage and two-stage , English is called One stage and Two stage, The brief is as follows :
So this time we choose One Stage A representative target detection algorithm YOLO To realize the identification of sliding verification code gap .
YOLO, The full English name is You Only Look Once, Taking their initials constitutes the algorithm name ,
at present YOLO The latest version of the algorithm is V5 edition , Widely used is V3 edition , Here, we will not introduce the specific flow of the algorithm more , If you are interested, you can search the relevant information to understand , In addition, you can also understand YOLO V1-V3 Differences and improvements in the version , Here are some reference links :
As described in the previous section , To train the deep learning model, you also need to prepare training data , The data is also divided into two parts , One part is the verification code image , The other part is data annotation , That is, the location of the gap . But unlike the previous section , This annotation is no longer a simple verification code text , Because this time we need to show the position of the gap , The notch corresponds to a rectangular box , To represent a rectangular box , At least four data are required , Such as the abscissa and ordinate of the upper left corner x、y, The width and height of the rectangle w、h, So the labeled data becomes four numbers .
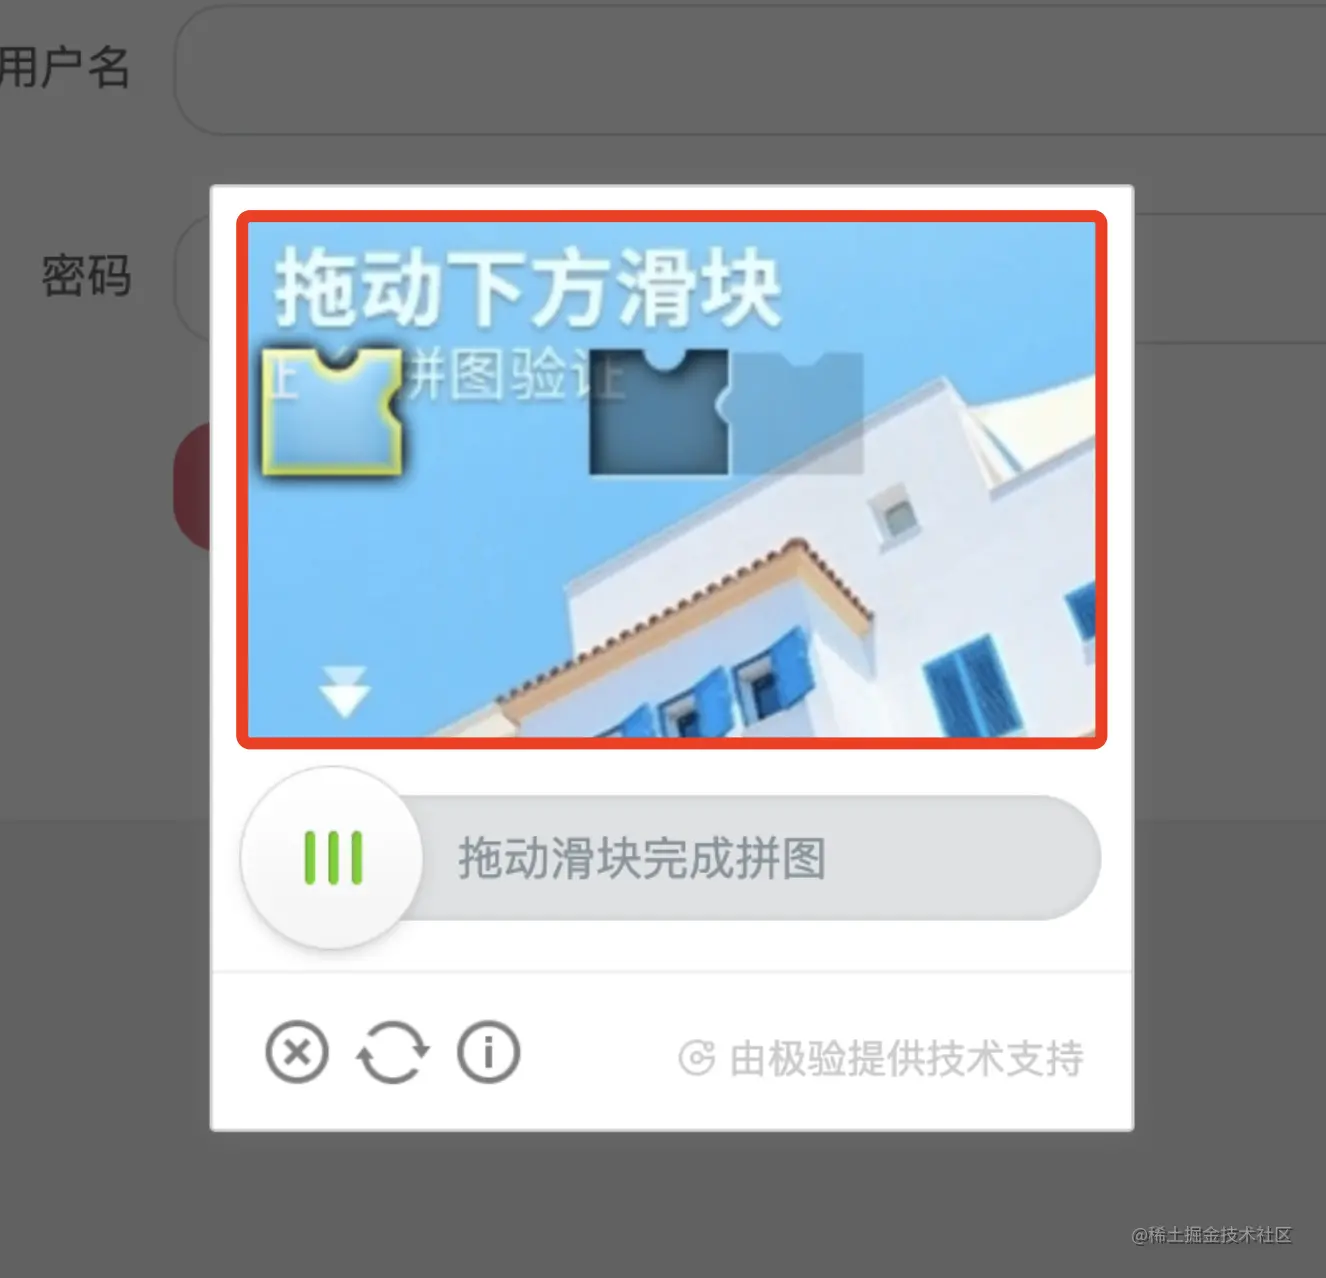
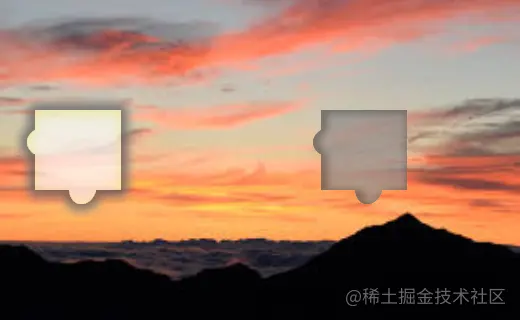
therefore , Next, we need to prepare some verification code pictures and corresponding four digit labels , For example, the sliding verification code in the figure below :
good , Then let's finish these two steps , The first step is to collect verification code pictures , The second step is to mark the position of the gap and turn it into the four digits we want .
Our sample website here is captcha1.scrape.center/, Click the login button after opening …

What we need to do is save the image of the sliding verification code separately , This is the area :
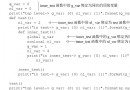
How to do it? ? Manual screenshots are certainly unreliable , laborious , And it's hard to accurately locate the boundary , It will lead to the size of the saved pictures . To solve this problem , We can simply write a script to realize automatic cutting and saving , It's... In the warehouse collect.py file , The code is as follows :
from selenium import webdriver
from selenium.webdriver.common.by import By
from selenium.webdriver.support.ui import WebDriverWait
from selenium.webdriver.support import expected_conditions as EC
from selenium.common.exceptions import WebDriverException
import time
from loguru import logger
COUNT = 1000
for i in range(1, COUNT + 1):
try:
browser = webdriver.Chrome()
wait = WebDriverWait(browser, 10)
browser.get('https://captcha1.scrape.center/')
button = wait.until(EC.element_to_be_clickable(
(By.CSS_SELECTOR, '.el-button')))
button.click()
captcha = wait.until(
EC.presence_of_element_located((By.CSS_SELECTOR, '.geetest_slicebg.geetest_absolute')))
time.sleep(5)
captcha.screenshot(f'data/captcha/images/captcha_{i}.png')
except WebDriverException as e:
logger.error(f'webdriver error occurred {e.msg}')
finally:
browser.close()
Here we first define a loop , The number of cycles is COUNT Time , Use... Every time you cycle Selenium Launch a browser , Then open the target website , Simulate clicking the login button to trigger the verification code pop-up , Then intercept the node corresponding to the verification code , Reuse screenshot Method to save it .
We run it :
python3 collect.py
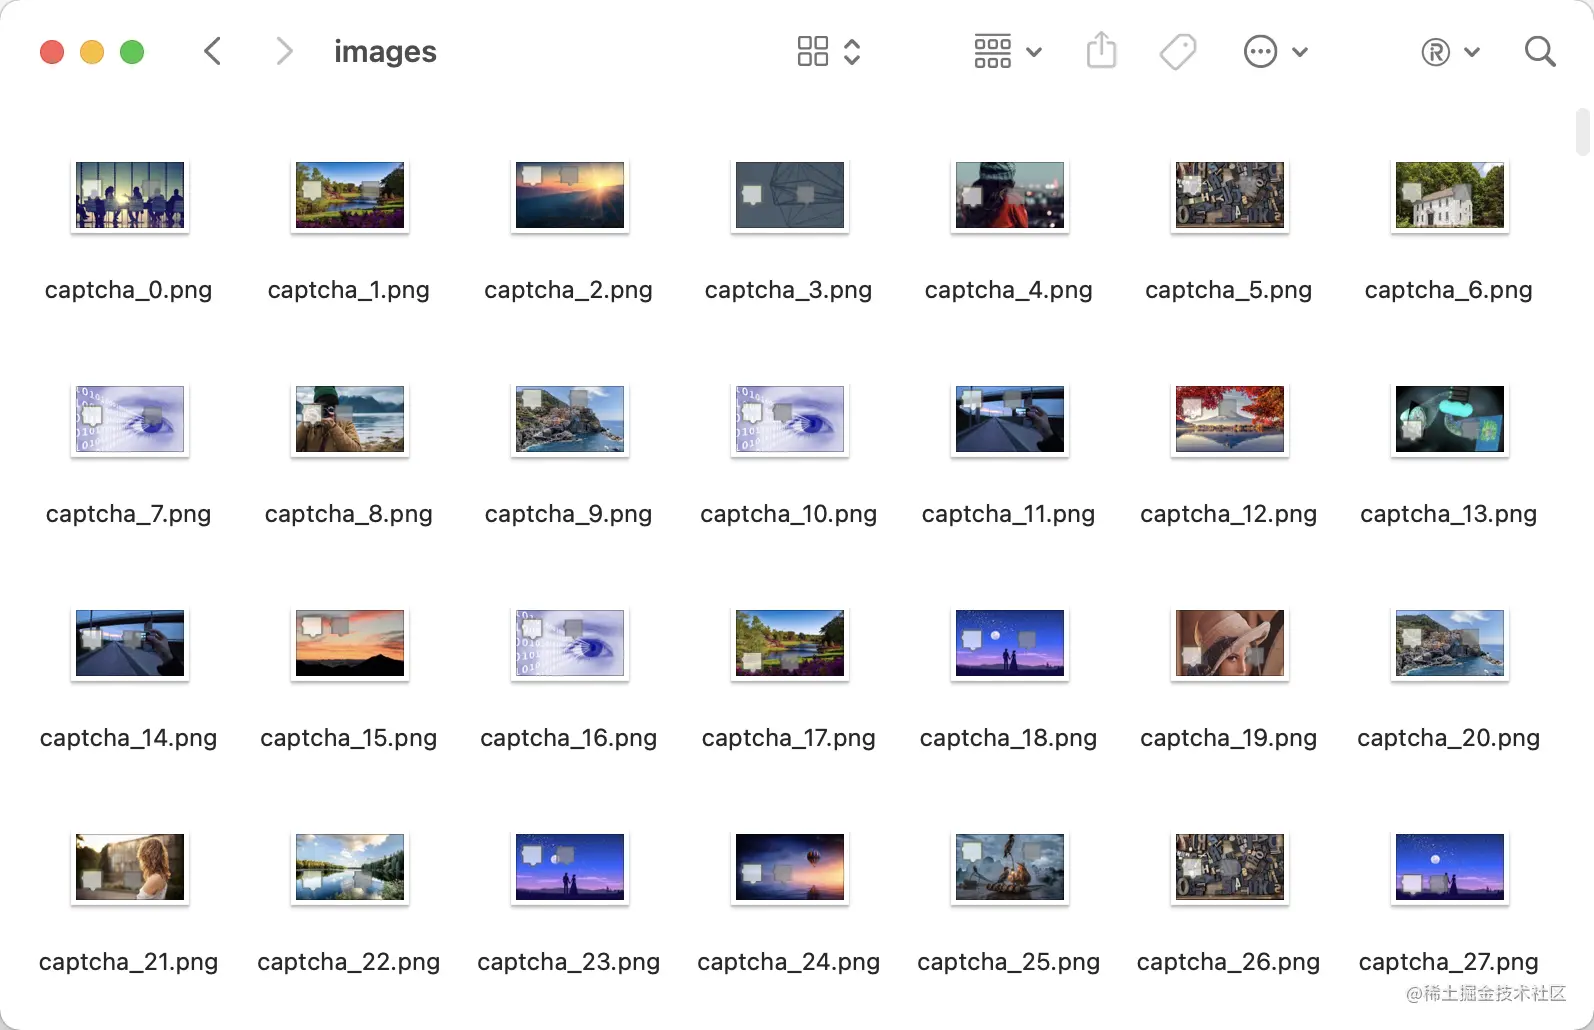
After running, we can data/captcha/images/ The directory has obtained many verification code pictures , The example is shown in the figure :
After obtaining the verification code picture , We need to label the data , The recommended tool here is labelImg,GitHub The address is github.com/tzutalin/la… pip3 Can be installed :
pip3 install labelImg
After installation, you can run it directly from the command line :
labelImg
This successfully starts labelImg:

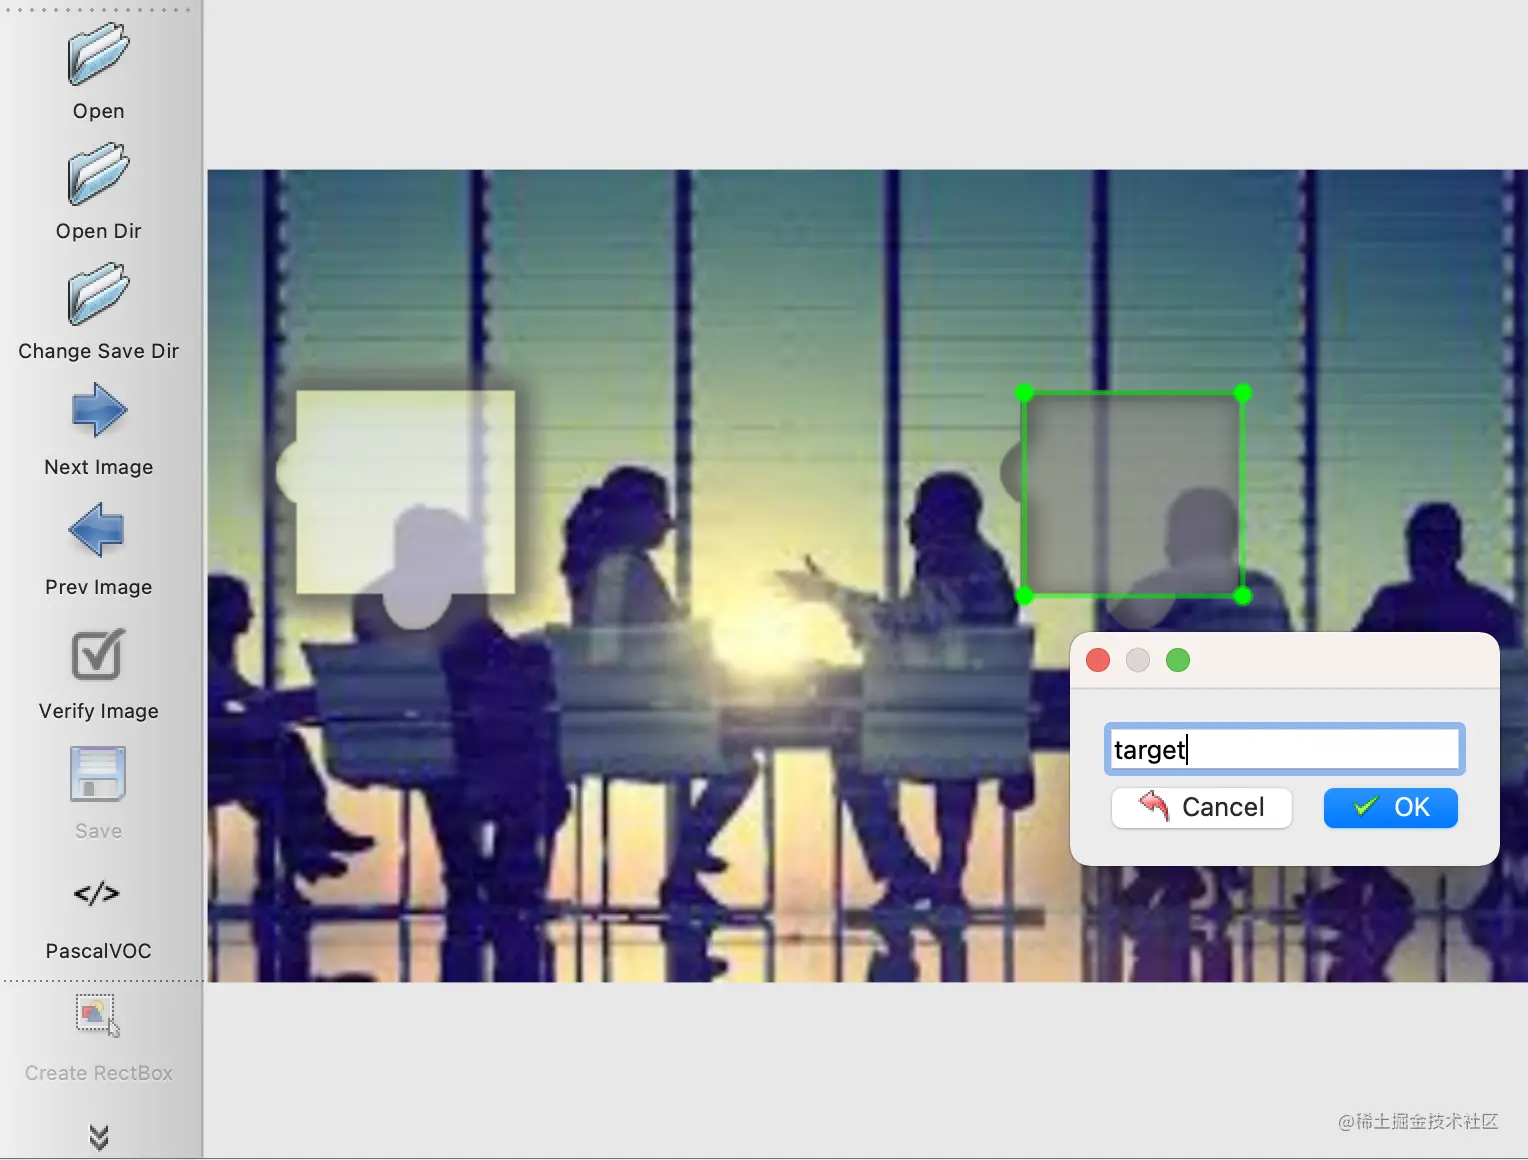
Click on Open Dir open data/captcha/images/ Catalog , Then click on the Create RectBox Create a dimension box , We can select the rectangle where the gap is , After the box is selected labelImg You will be prompted to save a name , We named it target, And then click OK, As shown in the figure :
At this time, we can find that it saves a xml file , The contents are as follows :
<annotation>
<folder>images</folder>
<filename>captcha_0.png</filename>
<path>data/captcha/images/captcha_0.png</path>
<source>
<database>Unknown</database>
</source>
<size>
<width>520</width>
<height>320</height>
<depth>3</depth>
</size>
<segmented>0</segmented>
<object>
<name>target</name>
<pose>Unspecified</pose>
<truncated>0</truncated>
<difficult>0</difficult>
<bndbox>
<xmin>321</xmin>
<ymin>87</ymin>
<xmax>407</xmax>
<ymax>167</ymax>
</bndbox>
</object>
</annotation>
You can see size There are three nodes in the node , Namely width、height、depth, Respectively represent the width of the original verification code picture 、 Height 、 The channel number . in addition object Node under bndbox The node contains the location of the marking gap , Through observation and comparison, we can know xmin、ymin It refers to the coordinates of the upper left corner ,xmax、ymax It refers to the coordinates in the lower right corner .
We can simply process the data with the following methods :
import xmltodict
import json
def parse_xml(file):
xml_str = open(file, encoding='utf-8').read()
data = xmltodict.parse(xml_str)
data = json.loads(json.dumps(data))
annoatation = data.get('annotation')
width = int(annoatation.get('size').get('width'))
height = int(annoatation.get('size').get('height'))
bndbox = annoatation.get('object').get('bndbox')
box_xmin = int(bndbox.get('xmin'))
box_xmax = int(bndbox.get('xmax'))
box_ymin = int(bndbox.get('ymin'))
box_ymax = int(bndbox.get('ymax'))
box_width = (box_xmax - box_xmin) / width
box_height = (box_ymax - box_ymin) / height
return box_xmin / width, box_ymin / height, box_width / width, box_height / height
Here we define a parse_xml Method , This method first reads xml file , And then use xmltodict The library can put XML String to JSON, Then read out the width and height information of the verification code in turn , Information on the location of the notch , Finally, the desired data format is returned —— Coordinates and relative values of width and height of the upper left corner of the notch , Returns... As a tuple .
After all the marks are completed , For each xml File call this method to generate the desired annotation results .
ad locum , I have processed the corresponding annotation results , You can use it directly , Path is data/captcha/labels, As shown in the figure :

Every txt The document corresponds to the marking result of a verification code diagram , The content is similar to the following :
0 0.6153846153846154 0.275 0.16596774 0.24170968
first place 0 Represents the index of the label target , Because we only need to detect one gap , So the index is 0; The first 2、3 Bit represents the position of the upper left corner of the notch , such as 0.615 It represents that the abscissa of the upper left corner of the notch is in the relative position of the verification code 61.5% It's about , Multiply by the width of the verification code 520, The result is about 320, The upper left corner is the offset 320 Pixels ; The first 4、5 The ratio of the width and height of the notch to the picture of the verification code , For example 5 position 0.24 Multiply by the height of the verification code 320, The result is about 77, That is, the height of the notch is about 77 Pixels .
Okay , So far, the data preparation phase is completed .
For better training effect , We also need to download some pre training models . Pre training means that there is already a basic model trained in advance , We can directly use the weight file in the model trained in advance , We don't have to train from scratch , Just fine tune based on the previous model , This can save training time , It can also have a better effect .
YOLOV3 We need to load the pre training model in order to have a good training effect , The pre training model download command is as follows :
bash prepare.sh
Be careful : stay Windows Please use the Bash Command line tools such as Git Bash To run this command .
Execute this script , You can download YOLO V3 Some weight files of the model , Include yolov3 and weights also darknet Of weights, Before training, we need to initialize with these weight files YOLO V3 Model .
Then you can start training , Execute the following script :
bash train.sh
Be careful : stay Windows Please use the same Bash Command line tools such as Git Bash To run this command .
It is also recommended to use GPU Training , During training, we can use TensorBoard Let's see loss and mAP The change of , function TensorBoard:
tensorboard --logdir='logs' --port=6006 --host 0.0.0.0
Be careful : Please ensure that all dependent libraries of this project have been installed correctly , Among them is TensorBoard, After successful installation, you can use tensorboard command .
After running this command, you can http://localhost:6006 Observed during training loss change .
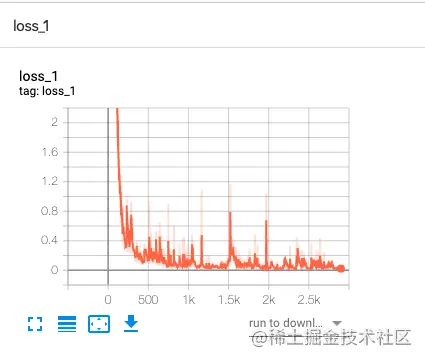
loss_1 The changes are similar to the following :
val_mAP The changes are similar to the following :

You can see loss From the initial very high to very low , The accuracy is gradually approaching 100%.
Here are some output results of the command line during the training :
---- [Epoch 99/100, Batch 27/29] ----
+------------+--------------+--------------+--------------+
| Metrics | YOLO Layer 0 | YOLO Layer 1 | YOLO Layer 2 |
+------------+--------------+--------------+--------------+
| grid_size | 14 | 28 | 56 |
| loss | 0.028268 | 0.046053 | 0.043745 |
| x | 0.002108 | 0.005267 | 0.008111 |
| y | 0.004561 | 0.002016 | 0.009047 |
| w | 0.001284 | 0.004618 | 0.000207 |
| h | 0.000594 | 0.000528 | 0.000946 |
| conf | 0.019700 | 0.033624 | 0.025432 |
| cls | 0.000022 | 0.000001 | 0.000002 |
| cls_acc | 100.00% | 100.00% | 100.00% |
| recall50 | 1.000000 | 1.000000 | 1.000000 |
| recall75 | 1.000000 | 1.000000 | 1.000000 |
| precision | 1.000000 | 0.800000 | 0.666667 |
| conf_obj | 0.994271 | 0.999249 | 0.997762 |
| conf_noobj | 0.000126 | 0.000158 | 0.000140 |
+------------+--------------+--------------+--------------+
Total loss 0.11806630343198776
Here is the change of each index in the training process , Such as loss、recall、precision、confidence etc. , Each represents the loss of the training process ( The smaller the better. )、 Recall rate ( The proportion of the results that can be recognized in the results that should be recognized , The higher, the better )、 Accuracy ( The correct ratio of the identified results , The higher, the better )、 Degree of confidence ( The model is sure of the probability of identifying pairs , The higher, the better ), As a reference .
After training, I will be in checkpoints Folder generation pth file , These are some model files , And the last one best_model.pkl It's the same principle , It's just a little different , We can directly use these models to predict and generate annotation results .
To run tests , We can start with the test folder data/captcha/test Put in some verification code pictures :
The sample verification code is as follows :
To run tests , Execute the following script :
bash detect.sh
The script will read all the pictures in the test folder , And output the processed results to data/captcha/result Folder , The console outputs the identification results of some verification codes .
At the same time data/captcha/result Generated the result of annotation , A sample of :
You can see , The gap is accurately identified .
actually ,detect.sh It's execution detect.py file , There is a key output in the code as follows :
bbox = patches.Rectangle((x1 + box_w / 2, y1 + box_h / 2), box_w, box_h, linewidth=2, edgecolor=color, facecolor="none")
print('bbox', (x1, y1, box_w, box_h), 'offset', x1)
here bbox The position of the gap is the final contour , meanwhile x1 It refers to the lateral offset between the leftmost side of the contour and the leftmost side of the whole verification code , namely offset. Through these two messages , We can get the key position of the gap .
With the target slider position , Then we can carry out some simulated sliding operations to realize the detection through the verification code .
This section mainly introduces the overall process of training deep learning model to identify the gap of sliding verification code , Finally, we successfully realized the model training process , And get a deep learning model file .
Using this model , We can enter a sliding verification code , The model will predict the location of the gap , Including offset 、 Width etc. , Finally, the corresponding position can be drawn through the information of the gap .
Of course, the content introduced in this section can also be further optimized :
Code in this section :github.com/Python3WebS…
Thank you very much for reading , More highlights , Please pay attention to my official account 「 Attacking Coder」 and 「 Cui Qingcai is looking for 」.