PHP的GD擴展提供了兩個函數來縮放圖像:
ImageCopyResized(dest, src, dx, dy, sx, sy, dw, dh, sw, sh);
ImageCopyResampled(dest, src, dx, dy, sx, sy, dw, dh, sw, sh);
ImageCopyResized( )函數在所有GD版本中有效,但其縮放圖像的算法比較粗糙,可能會導致圖像邊緣的鋸齒。GD 2.x中新增了一個ImageCopyResampled( )函數,其像素插值算法得到的圖像邊緣比較平滑(但該函數的速度比ImageCopyResized()慢)。<?php
$src = ImageCreateFromJPEG('php.jpg');
$width = ImageSx($src);
$height = ImageSy($src);
$x = $width/2; $y = $height/2;
$dst = ImageCreateTrueColor($x,$y);
ImageCopyResized($dst,$src,0,0,0,0,$x,$y,$width,$height);
//ImageCopyResampled($dst,$src,0,0,0,0,$x,$y,$width,$height);
header('Content-Type: image/jpeg');
ImageJPEG($dst,'',100);
?>
原圖:

使用ImageCopyResized()函數生成的結果:

使用ImageCopyResampled()函數生成的結果:

ImageCopyResampled()函數生成的結果比較平滑,效果較好。
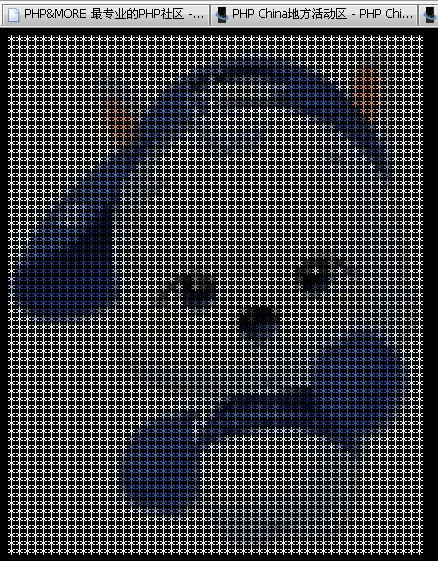
順便貼一個效果,用ASCII表示圖像。ImageColorAt()有一個很有趣的用處,它可以循環檢查
圖像中的每一個像素的顏色,然後對該顏色數據進行操作。
源代碼:
<html>
<body bgcolor="#000000" > <?php
$im = imagecreatefromjpeg('test1.jpg');
$dx = imagesx($im);
$dy = imagesy($im);
for($y = 0; $y < $dy; $y++) {
for($x=0; $x < $dx; $x++) {
$col = imagecolorat($im, $x, $y);
$rgb = imagecolorsforindex($im,$col);
printf('<font color=#%02x%02x%02x>*</font>',
$rgb['red'],$rgb['green'],$rgb['blue']);
}
echo "<br>\n";
}
imagedestroy($im);
?>
</body></html>
